
Introduction
This article outlines the methods to set up Google Suite as your identity provider using either Google Service or Google SAML applications.
By integrating with Google Suite, Check Point SASE can authenticate users seamlessly.
Steps
Configuring the app at the G suite management console
Open the G Suite management console.
Select Apps.
Select Add custom SAML app.

Enter the desired name, description, and logo.
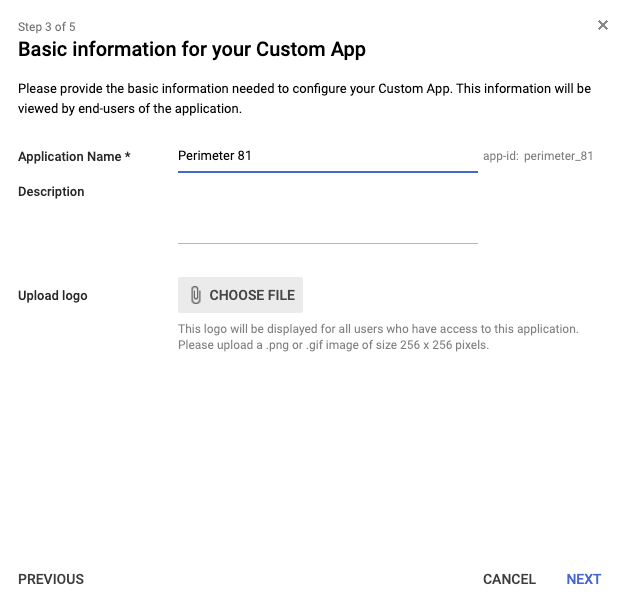
The app logo is optional and can be found using this link
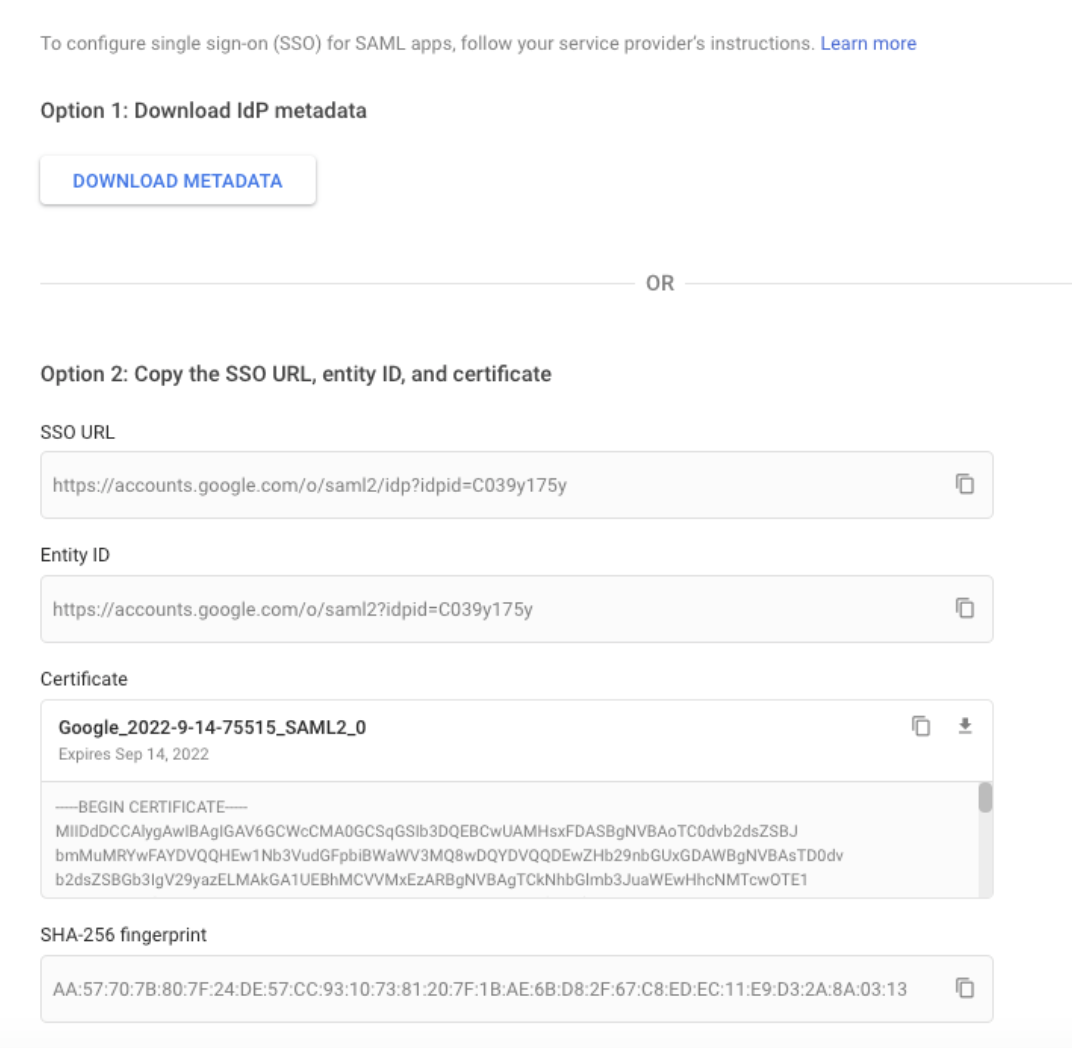
Copy the SSO URL and download or copy the certificate, then select next.
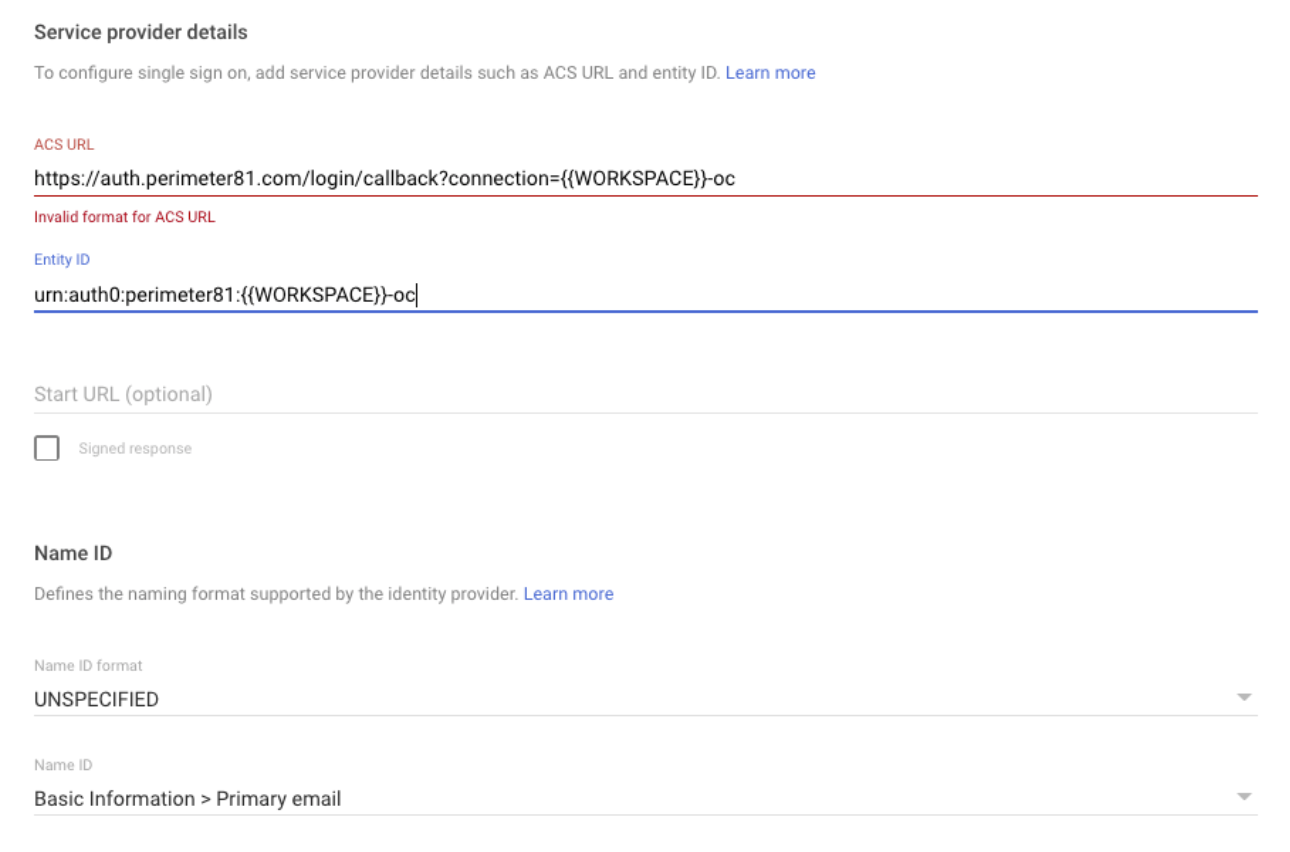
Fill in the following information:
- ACS URL : Enter https://auth.perimeter81.com/login/callback?connection=YOUR_WORKSPACE-oc for US based platform or https://auth.eu.sase.checkpoint.com/login/callback?connection=YOUR_WORKSPACE-oc for EU based platform
- Entity ID : Enter urn:auth0:perimeter81:YOUR_WORKSPACE-oc for US based platform or urn:auth0:eu-sase-checkpoint:YOUR_WORKSPACE-oc for EU based platform
- Make sure to replace {{WORKSPACE}} with your workspace name (for example, if you log in to the platform using myworkspace.perimeter81.com, replace {{WORKSPACE}} with myworkspace )
- Name ID: Basic Information > Primary Email
- Name ID Format: UNSPECIFIED
7.
Click on the "add mapping" button to create 4 different rows and then fill in the following attributes:
(every attribute will have its own row)
1. Basic Information -> Primary email: email
2. Basic Information -> Last Name: family_name
3. Basic Information -> First Name: given_name
4. Employee Details -> Department: groups
8.
Once the application has been created select Status, and then turn it on for everyone.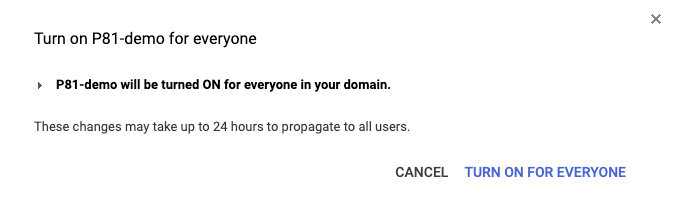
Configuring Check Point SASE
You need to configure the integration from the Check Point SASE side.
- Log in to your Check Point SASE Management Platform, navigate to Settings and then IdentityProviders.
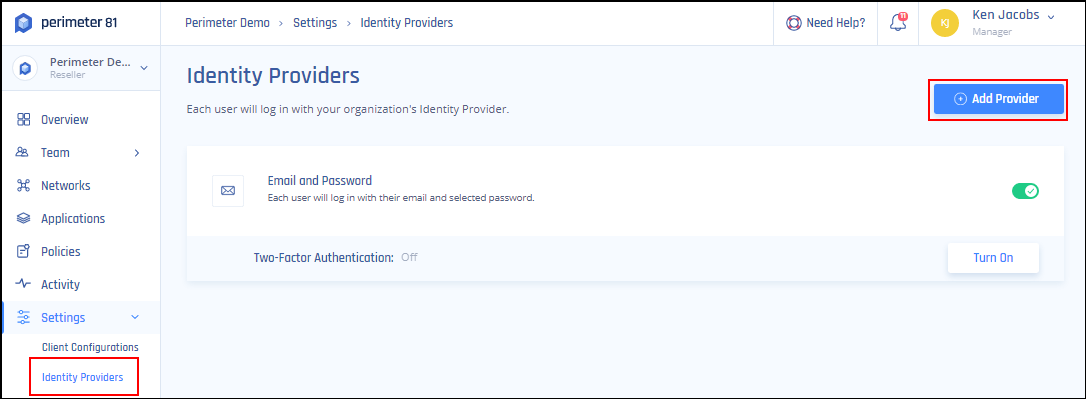
- Select + Add Provider.
- Select SAML 2.0 Identity Providers.
- Fill in SSO URL.
- Add your organization domain.
- Upload the certificate
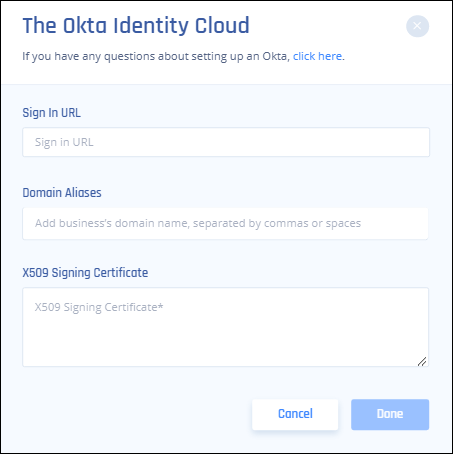
- Select Done.
Recommendations
- When choosing between Google Service and Google SAML applications, consider the potential cost implications on Google's side for using Google Services.
- A SAML integration mandates all users to authenticate using Google Suite, whereas a Google Service setup offers more flexibility, allowing specific user groups only.
- Ensure you have the necessary permissions in both Google Suite and Check Point SASE for a successful integration.
- When setting up, always replace placeholders with the correct values, such as your workspace name.
- Save the generated Google Client ID and Client Secret for later use in Check Point SASE.
- If connecting to Google Suite enterprise domains, remember to enable the Admin SDK service.
- Periodically review your Google Suite configuration settings to ensure alignment with any updates or changes in the Check Point SASE platform.
Troubleshooting
If you encounter issues during or after the setup, try reviewing your settings to ensure everything matches the instructions. In particular, check the IP addresses and other details you entered during setup. If issues persist, please consult our dedicated support.
Support Contacts
If you have any difficulties or questions, don't hesitate to contact Check Point SASE's support team. We offer 24/7 chat support on our website at sase.checkpoint.com, or you can email us at sase-support@checkpoint.com. We're here to assist you and ensure your VPN tunnel setup is a success