
Routes
The article describes how to use routes. In most cases, once you set up the tunnel, you can specify remote subnets to be automatically added as propagated Routes. However, if you defined the Remote Gateway Proposal Subnets parameter as 0.0.0.0/0 (any), it is still possible to add manual routes and associate them with the corresponding tunnel as the exit point.
Please follow the steps below:
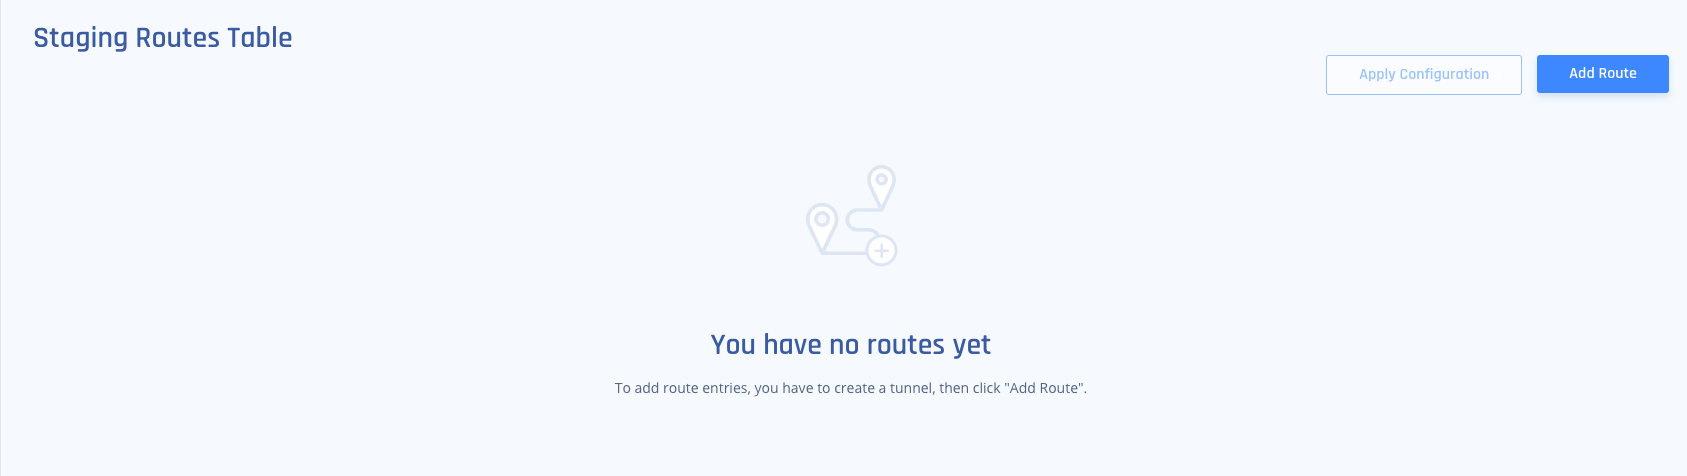
- Go to the Networks tab and select the network to which you'd like to add a route. Select the three-dotted icon (...), then Routes Table.

The following window displays:
2. Select Add Route and choose the relevant tunnel.
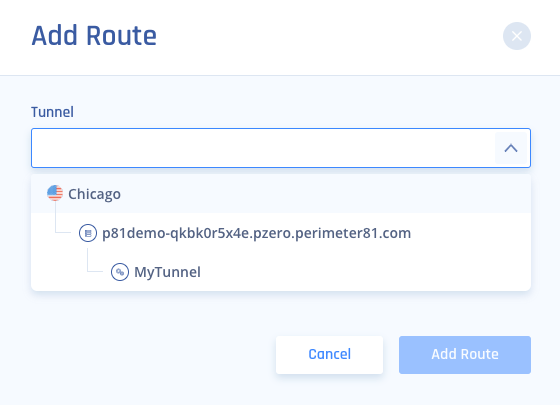
3. Insert the desired range for the route then select Add Route.
4. The route will be added to the table.

5. Select Apply Configuration.