
Introduction
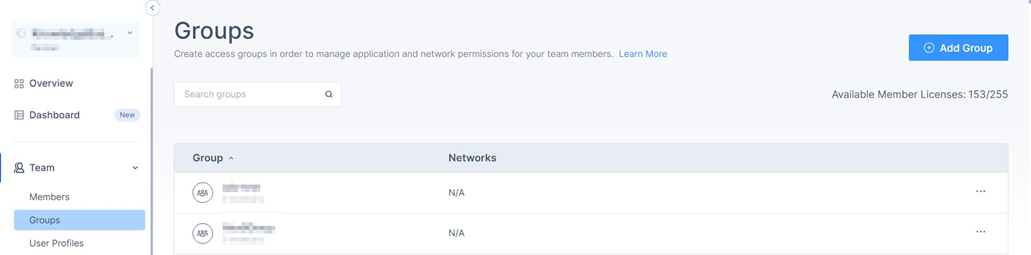
The Groups page allows you to create groups of members, based on roles and locations. For example, it allows you to apply a Policy to multiple members or restrict access only to a segment of the network.
To view the Groups page, access the Check Point SASE Administrator Portal and click Team > Groups.
| Column | Description |
|---|---|
| Group | Group name. |
| Networks | Name of the networks assigned to the group. |
Steps
Creating a Group
- Access the Check Point SASE Administrator Portal and click Team > Groups.
- Click Add Group.Note:You can search and select users in the Assign new members section in the right-pane.
.png)
- Enter the group name and click Create Group.
- To add members to the group:
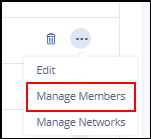
- Click
 in the last column of the group and then select Manage Members.
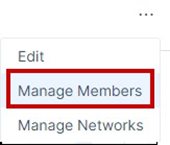
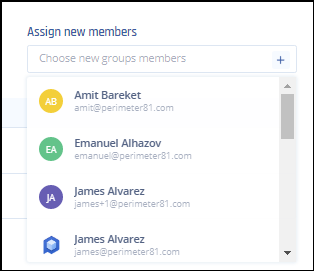
- In the Assign new members section, click + and select the required members.
- Click
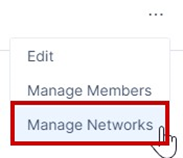
- To add networks to a group or to grant access to a network segment:
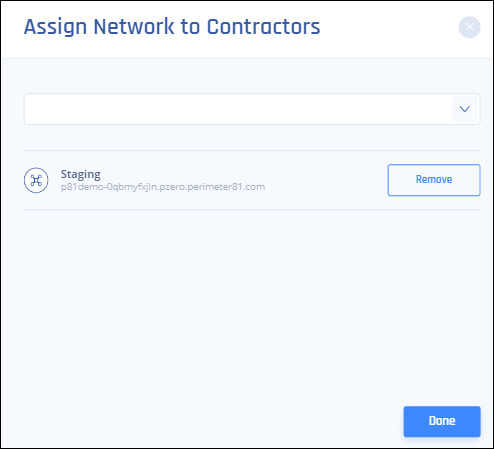
- Clickin the last column of the group and then select Manage Networks.
 The Assign Network to Group pop-up appears.
 - Select the network and click Done.
The members can access only the selected networks from the Check Point SASE Agent.
- Click
- To delete a group, hover over the group that you want to delete and click
 .
. The Delete Group window appears.
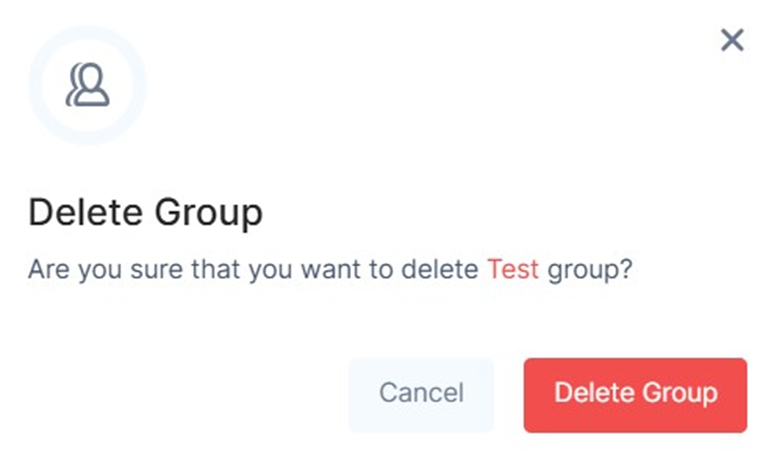
- Click Delete Group.
- A group can also be automatically created as a result of an IDP sync over SCIM, and associate users with it.
- When a group is deleted in the identity provider (example: Okta), it remains in any policies or configurations where it was previously used. It appears greyed out, and when you hover over it, Deleted Group message is displayed.

- You cannot add the deleted group in any policies, but it can be removed from the existing policies.
- When the deleted group is re-enabled, it is restored without any members. To add members again, you must manually assign them through the IdP.
Editing members in a group
- Once you have created a Group, you can edit members by selecting the three-dotted menu (...) on the right side and choosing Manage Members.
- Select the + sign to list members. Select the team members you want to add to the Group. Please notice that you will see only non-members on the list.
The new members are added to the group.
Managing access for groups
Groups are created to control who can access which location. Select Groups in the left side panel.
Select the three-dotted menu (...) next to the group you’d like to limit or grant access to and select Manage Networks.
- Select or remove the teams as desired for this location.
Support Contacts
If you have any difficulties or questions, don't hesitate to contact Check Point SASE's support team. We offer 24/7 chat support on our website at sase.checkpoint.com, or you can email us at sase-support@checkpoint.com. We're here to assist you and ensure your VPN tunnel setup is a success.