OpenVPN is a popular protocol that has been adopted by many solutions and software vendors across the globe. If you are using an Operating System that is not supported by our agent (List of supported OS), or perhaps you need to create a specific connection to a single machine or you are not able to use the Check Point SASE client- you can utilize our OpenVPN tunnel feature to create a direct connection to your Check Point SASE network.
We'll need to make sure that we have the help of a Check Point SASE Administrator in order to create the tunnel.
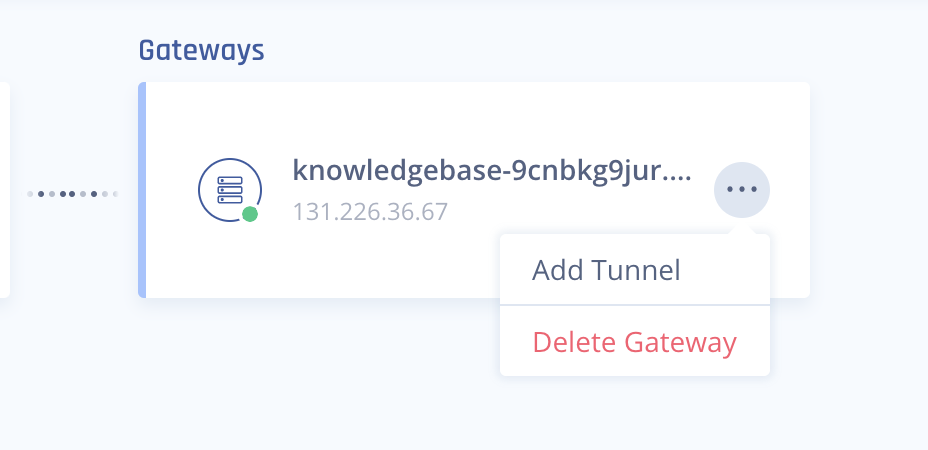
- Navigate to Networks > Networks on the left side of your Check Point SASE portal.
- Click the ellipses next to the gateway and select Add Tunnel.
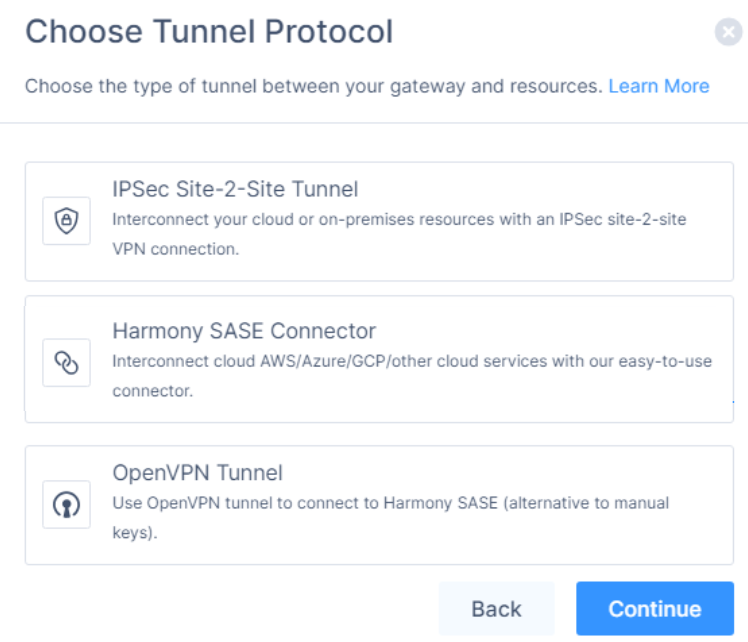
- Select OpenVPN Tunnel.
- Add a name for the tunnel. You will also see an Access Key ID and a Secret Access Key.CREDENTIALS
- These credentials only appear at the point of creating the tunnel. Save these credentials as you'll need this for any future connection.
- After clicking "Apply", these credentials will be encrypted and will not work anymore so make sure to copy them before applying the change.
- You can always re-generate these credentials if they have been lost.
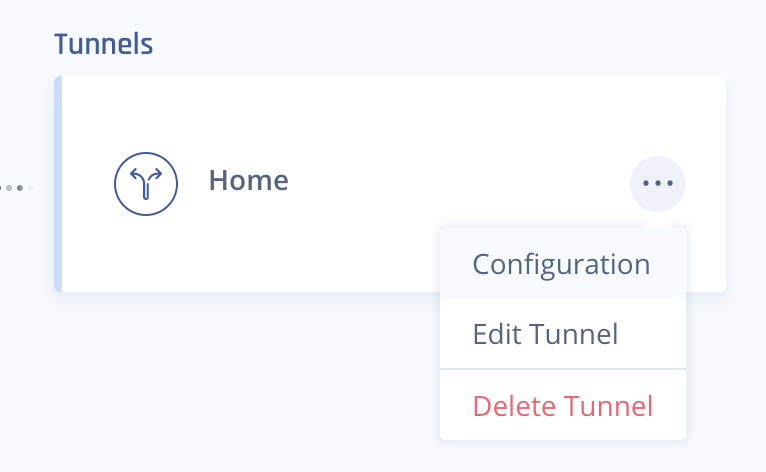
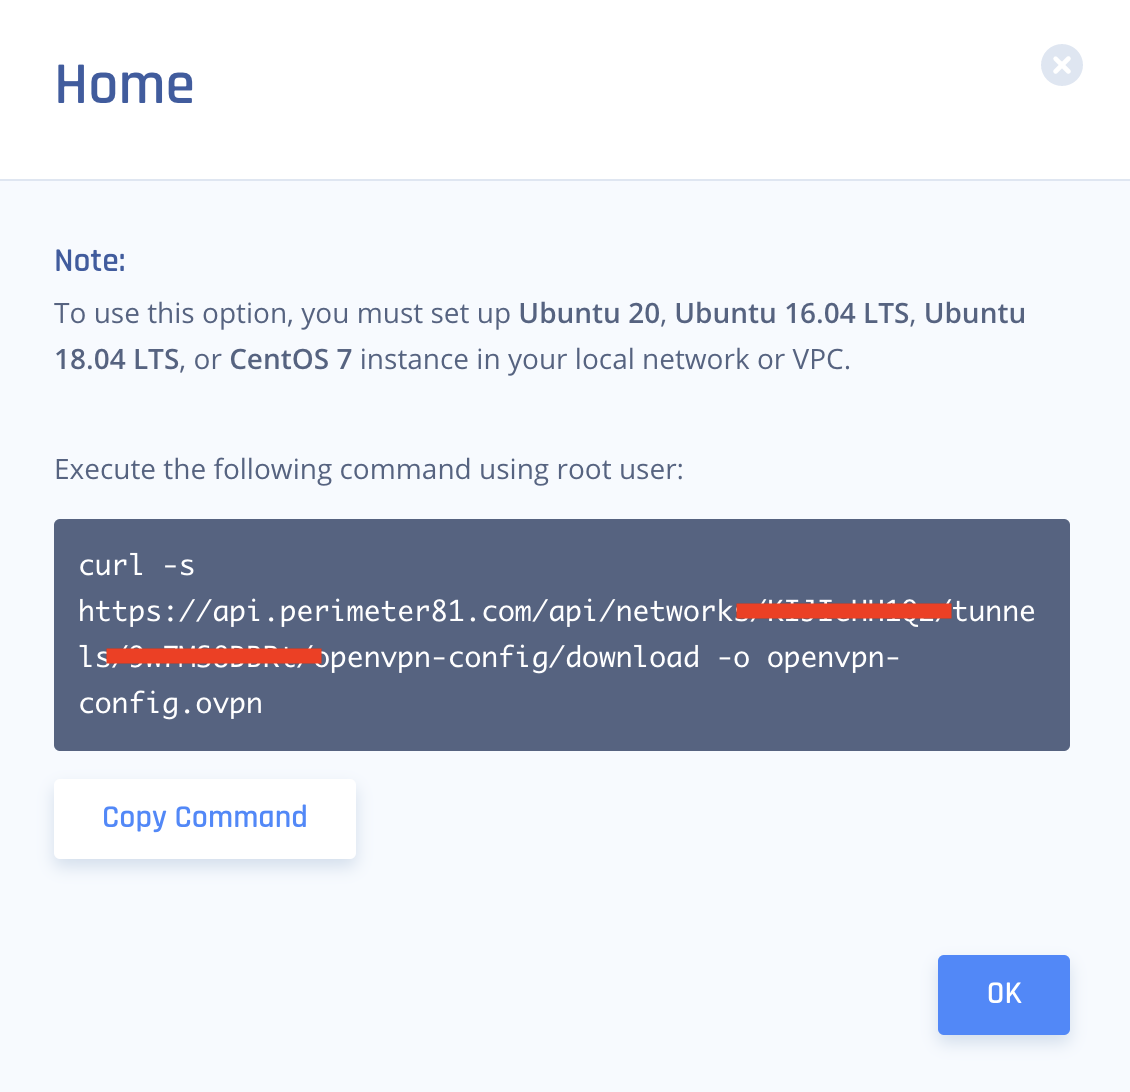
- Click the ellipses next to the newly created OpenVPN tunnel and select Configuration.
- You will see a command which can be executed via terminal.
If you're using macOS or Linux, the command will work as-is and it downloads a file with the name "openvpn-config.ovpn".
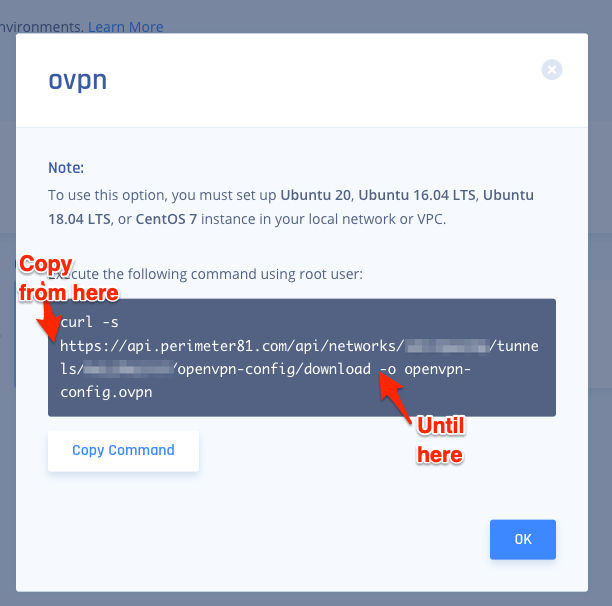
Open the link in a new window to download the configuration file.
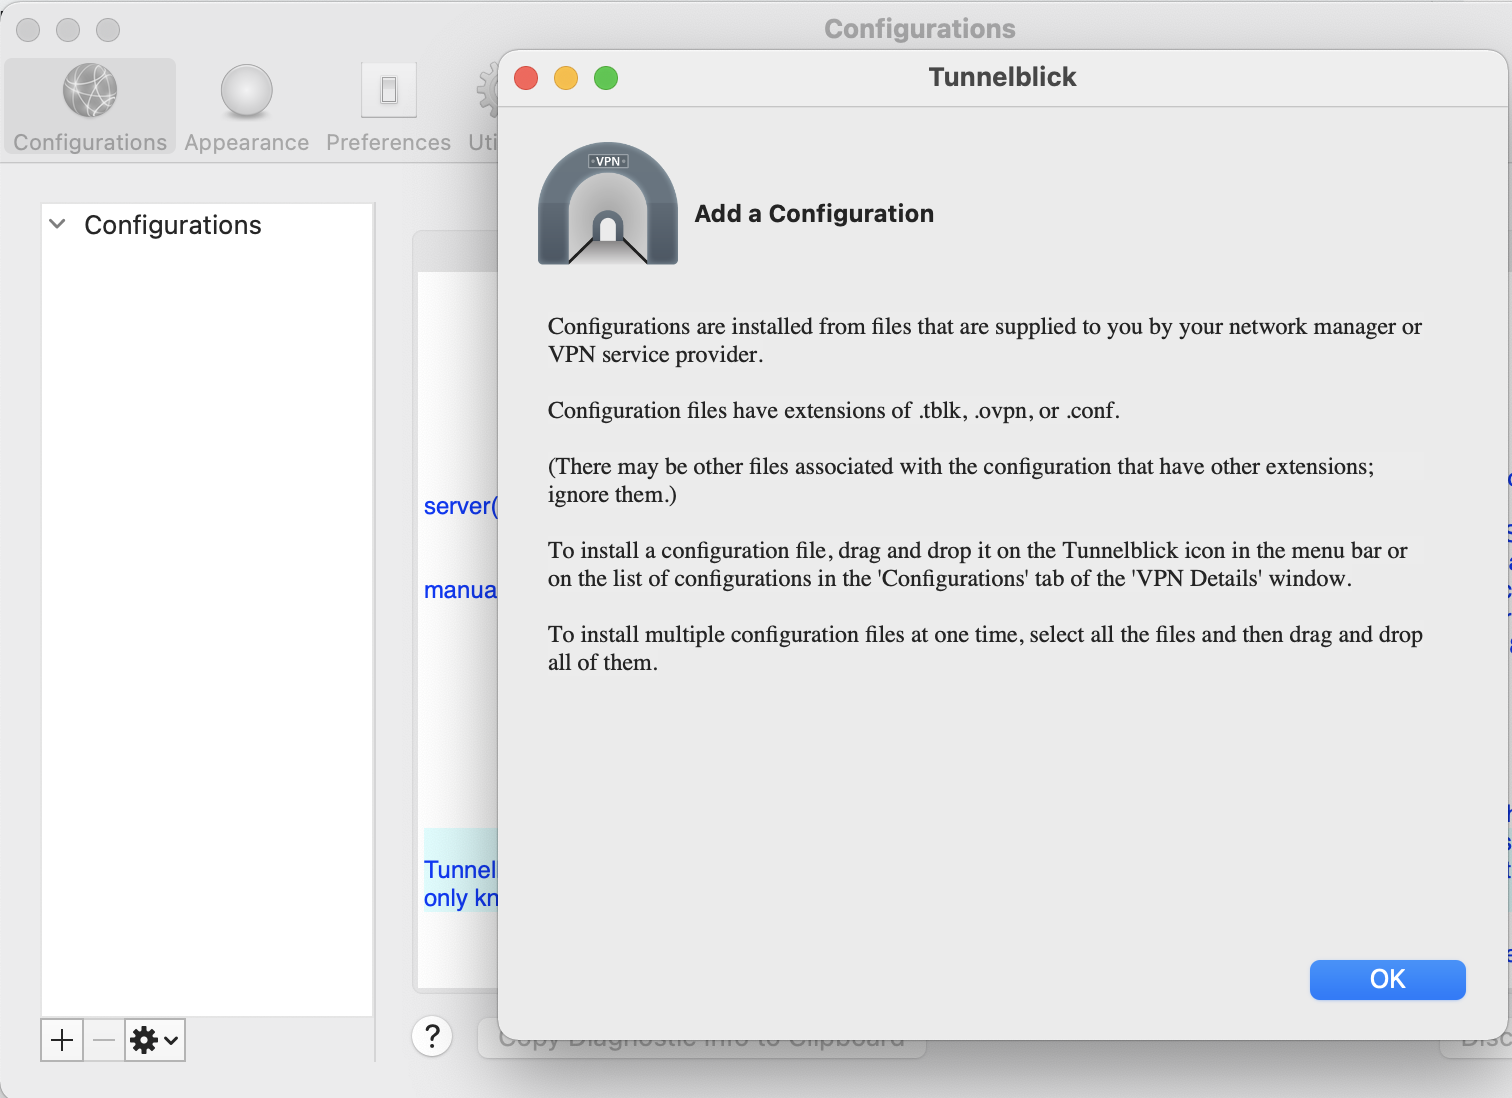
MacOS
Download Tunnelblick VPN client - https://tunnelblick.net/. The VPN client choice is up to you, but we recommend Tunnelblick for simplicity.
Drag and drop the openvpn-config.ovpn file into the client to add the configuration:
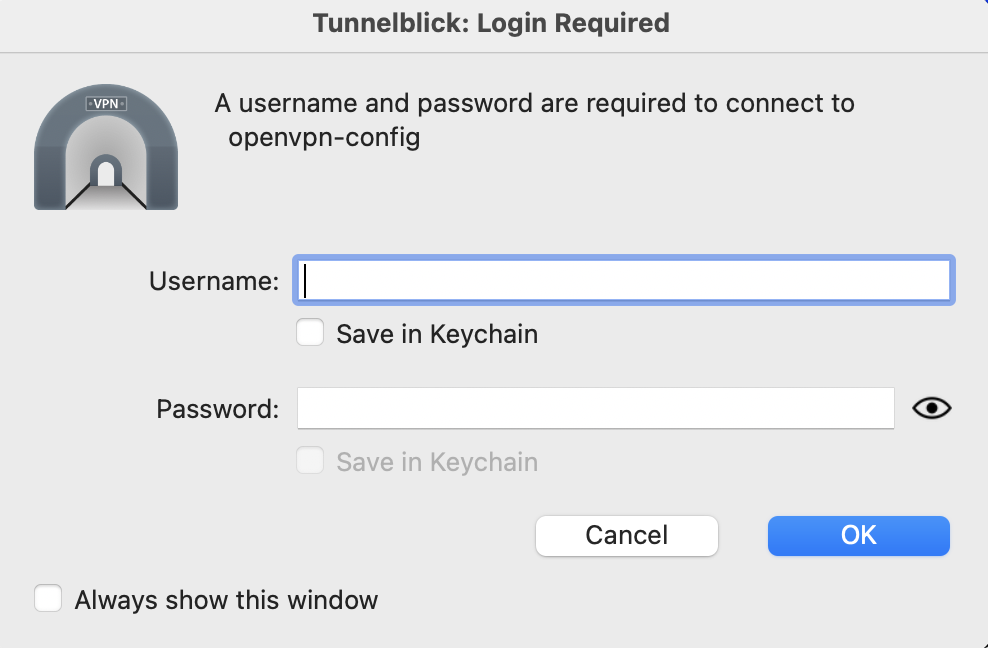
Connect to the VPN. Use the Access ID and Secret Key as the username and password
Windows
Download and install the OpenVPN Client https://openvpn.net/community-downloads/
Click on the OpenVPN icon 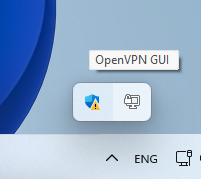
Select "Import" -> Import file...
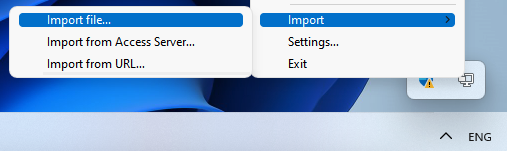
Select the downloaded file "saferx-openvpn-client.ovpn"
Once the file has been imported, right-click on the OpenVPN client and then click "Connect"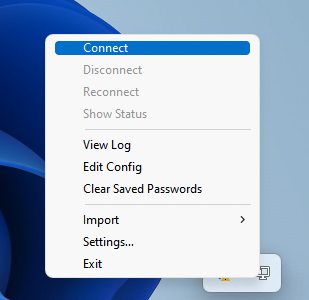
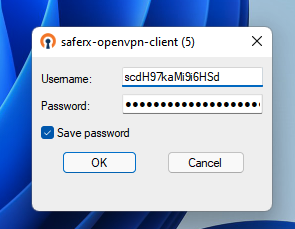
Now enter the Credentials that you copied previously and click OK
- Client Access ID = Username
- Client Access Key = Password
- Note that if the Client Access Key started with "$6$perimeter81$" it has already been encrypted and you would need to re-generate your credentials