
Introduction
This article outlines the steps to configure Auth0 as an identity provider.
By integrating with Auth0, Check Point SASE can authenticate users seamlessly, leveraging the capabilities of the Security Assertion Markup Language (SAML) protocol.
Steps
- Log in to your OneLogin account. If you don’t have an account, create one.
- Select Applications and then Applications.
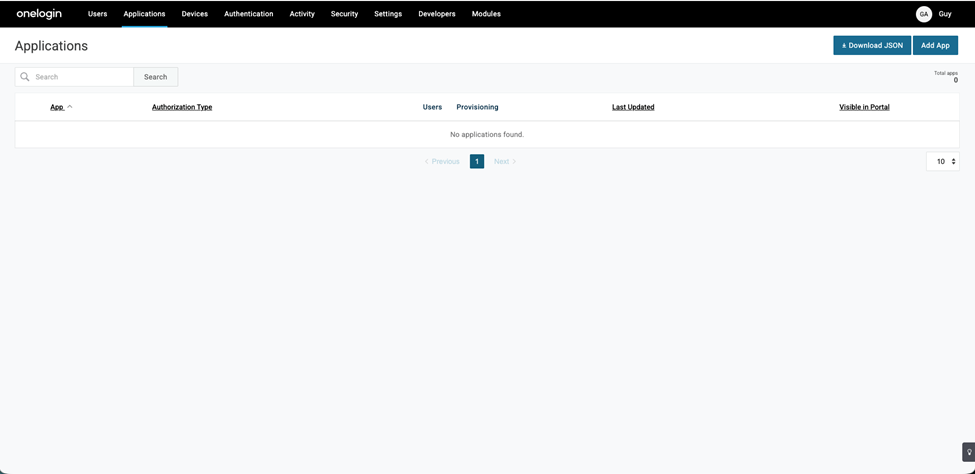
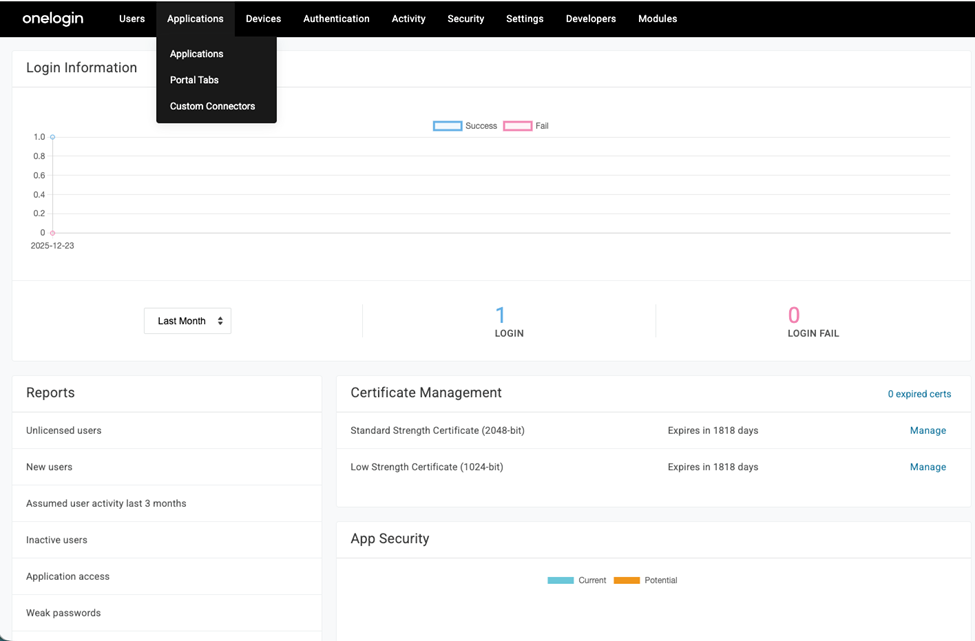 Applications window appears.
 - Click Add App.
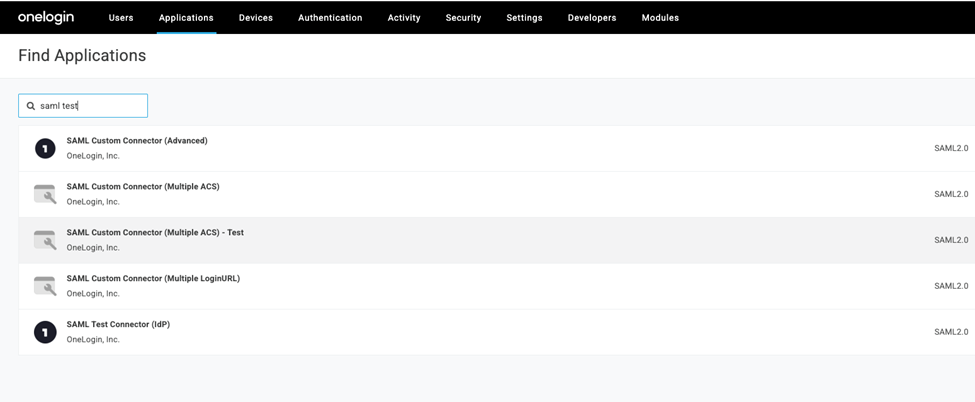
- Search for saml, and select SAML Test Connector (IdP).
- Change the Display Name to Check Point SASE.
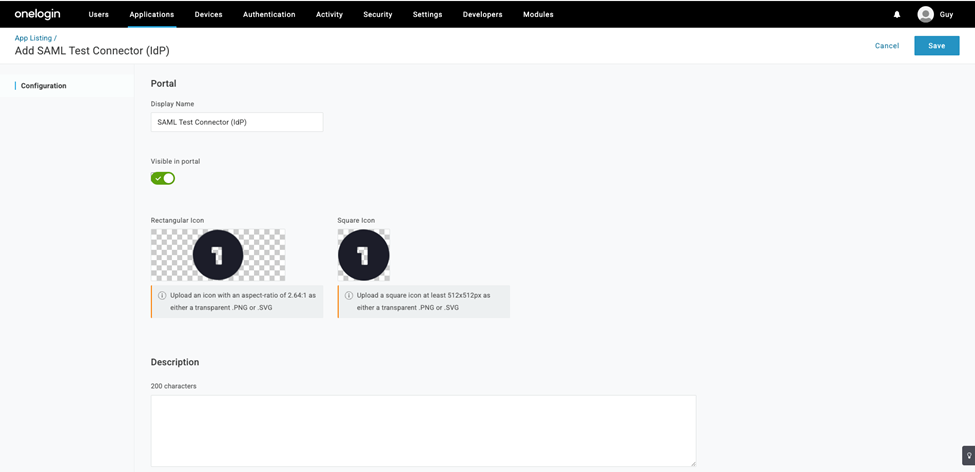
- Click Save.
- Go to the SSO tab, and copy the values for SAML 2.0 Endpoint (HTTP) and SLO Endpoint (HTTP).
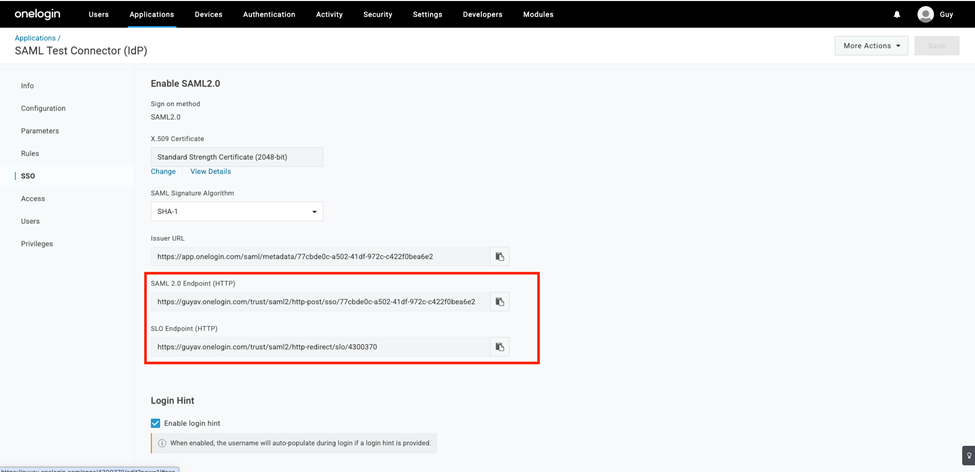
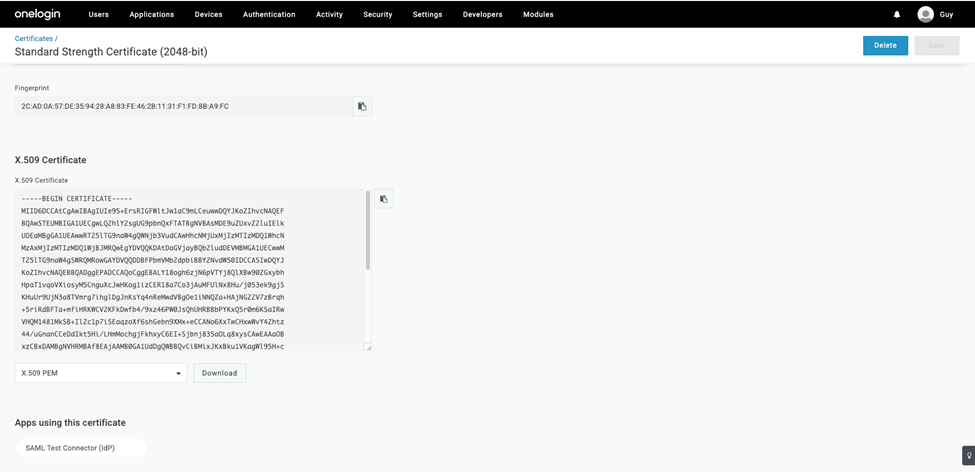
- Select the View Details link at the X.509 Certificate field.

- Download the X.509 certificate onelogin.pem.
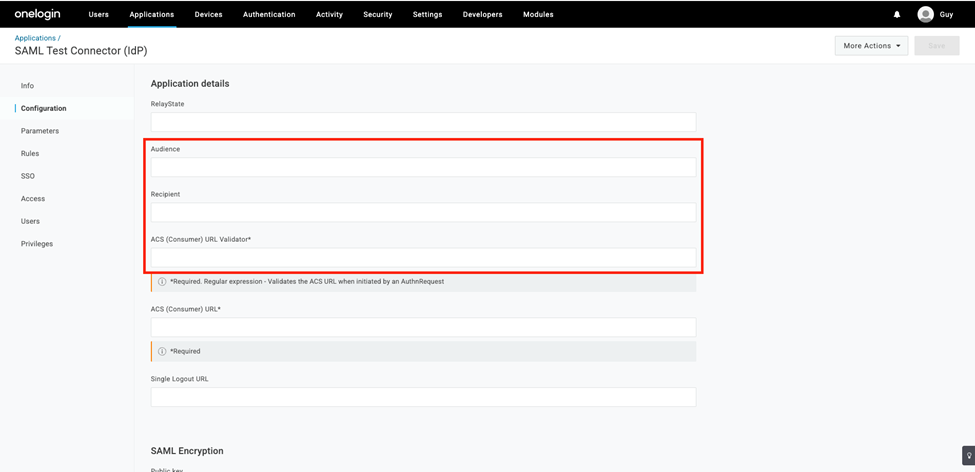
- Go back to the Configuration tab.
- Enter the following values into the appropriate fields:
Audience:
US-based platform: urn:auth0:perimeter81:{{WORKSPACE}}-oc
EU-based platform: urn:auth0:eu-sase-checkpoint:{{WORKSPACE}}-oc
AU-based platform: urn:auth0:au-sase-checkpoint:{{WORKSPACE}}-oc
IN-based platform: urn:auth0:in-sase-checkpoint:{{WORKSPACE}}-oc
for example: acme.perimeter81.com workspace should translate to urn:auth0:perimeter81:acme-oc
Recipient:
US-based platform: https://auth.perimeter81.com/login/callback?connection={{WORKSPACE}}-oc
EU-based platform: https://auth.eu.sase.checkpoint.com/login/callback?connection={{WORKSPACE}}-oc
AU-based platform: https://auth.au.sase.checkpoint.com/login/callback?connection={{WORKSPACE}}-oc
IN-based platform: https://auth.in.sase.checkpoint.com/login/callback?connection={{WORKSPACE}}-oc
ACS (Consumer) URL:
US-based platform: https://auth.perimeter81.com/login/callback?connection={{WORKSPACE}}-oc
EU-based platform: https://auth.eu.sase.checkpoint.com/login/callback?connection={{WORKSPACE}}-oc
AU-based platform: https://auth.au.sase.checkpoint.com/login/callback?connection={{WORKSPACE}}-oc
IN-based platform: https://auth.in.sase.checkpoint.com/login/callback?connection={{WORKSPACE}}-oc
ACS (Consumer) URL Validator field:
US-based platform: https://auth.perimeter81.com/login/callback?connection={{WORKSPACE}}-oc
EU-based platform: https://auth.eu.sase.checkpoint.com/login/callback?connection={{WORKSPACE}}-oc
AU-based platform: https://auth.au.sase.checkpoint.com/login/callback?connection={{WORKSPACE}}-oc
IN-based platform: https://auth.in.sase.checkpoint.com/login/callback?connection={{WORKSPACE}}-oc
 10. On the Parameters tab, select + sign to Add Parameter.
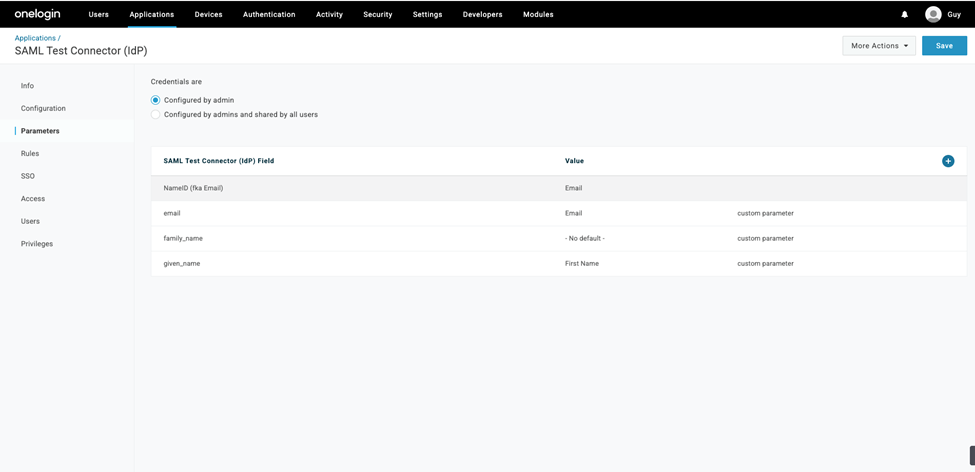
11. In the popup, set a name for your new custom attribute using the Field name text box. Make sure you check the Include in the SAML assertion flag. Select Save.
12. The new attribute you created is displayed. Select the Value field, which is currently displaying - No default.
13. Select the Value dropdown menu and select Macro.
14. Add the following set of properties:
Field Name: email, Macro text box value: {email}, SAML assertion flag: Checked
Field Name: given_name, Macro text box value: {firstname}, SAML assertion flag: Checked
Field Name: family_name, Macro text box value: {lastname}, SAML assertion flag: Checked
At this point, we're ready to configure Check Point SASE.
Configuring Check Point SASE
- Log in to your Check Point SASE Management Platform, and navigate to Settings and then IdentityProviders.
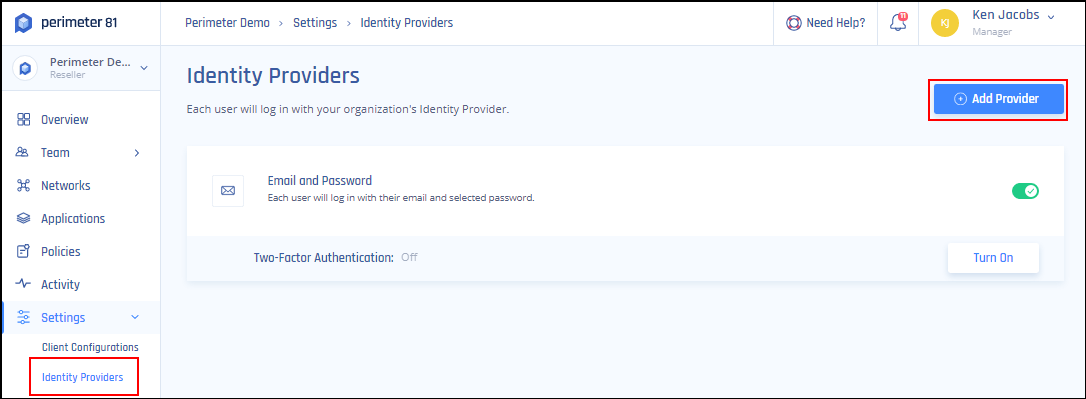
- Select + Add Provider.
- Choose SAML 2.0 Identity Providers.
- Fill Sign In URL, Signing Certificate as follows:
- The SAML 2.0 Endpoint (HTTP) value you saved above into the Sign In URL field
- The SLO Endpoint (HTTP) value into the Sign Out URL field.
- Finally, upload the onelogin.pem certificate using Upload Certificate.
- Click Done.

Recommendations
- Always replace placeholders like {{WORKSPACE}} with the appropriate values during setup.
- Ensure that the correct attributes are mapped in OneLogin for accurate user authentication and authorization in Check Point SASE.
- Periodically review your OneLogin configuration settings to ensure they align with any updates or changes made within the Check Point SASE platform
Troubleshooting
If you encounter issues during or after the setup, try reviewing your settings to ensure everything matches the instructions. In particular, check the IP addresses and other details you entered during setup. If issues persist, please consult our dedicated support.
Support Contacts
If you have any difficulties or questions, don't hesitate to contact Check Point SASE's support team. We offer 24/7 chat support on our website at sase.checkpoint.com, or you can email us at sase-support@checkpoint.com. We're here to assist you and ensure your VPN tunnel setup is a success