
Introduction
This guide offers insights into configuring Okta with SAML.
By integrating with Okta, Check Point SASE can authenticate users through the Security Assertion Markup Language (SAML) protocol, ensuring a secure and streamlined login process.
Supported Features
The Okta/Check Point SASE SAML integration currently supports the following features:
- SP-initiated SSO (only for the SASE ZTNA application portal)
- IdP-initiated SSO (for both the SASE ZTNA application portal and Agent login)
- JIT (Just In Time) Provisioning
Steps
- Log in to your Okta account.
- In the general Okta dashboard, select Applications.
- Using the list of shortcuts on the left-hand side of the screen, select Browse App Catalog and search for Harmony SASE, select our application and click Add Integration.
.png)
- From the Region list, select your data residency region and click Done.
.png)
- Once the application has been created, click on the Sign On tab.
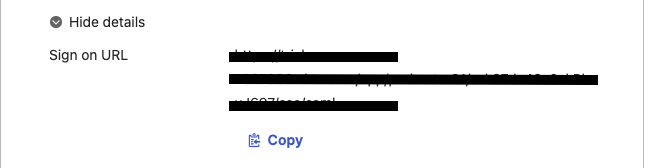
- Under the SAML 2.0 section click on More details, copy the Sign on URL and save it for later
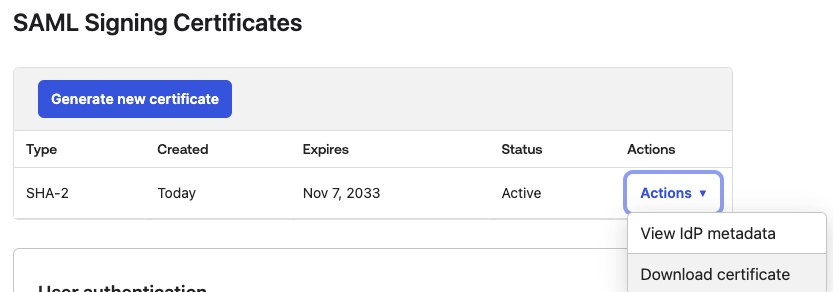
- Download the SAML Signing Certificate and save it for later.
- On top of the Sign On page Under the Settings section, click "Edit".
- Enter only the part of the name that appears before @perimeter81.com.
Example: Enter sase-network, not sase-network@perimeter81.com.
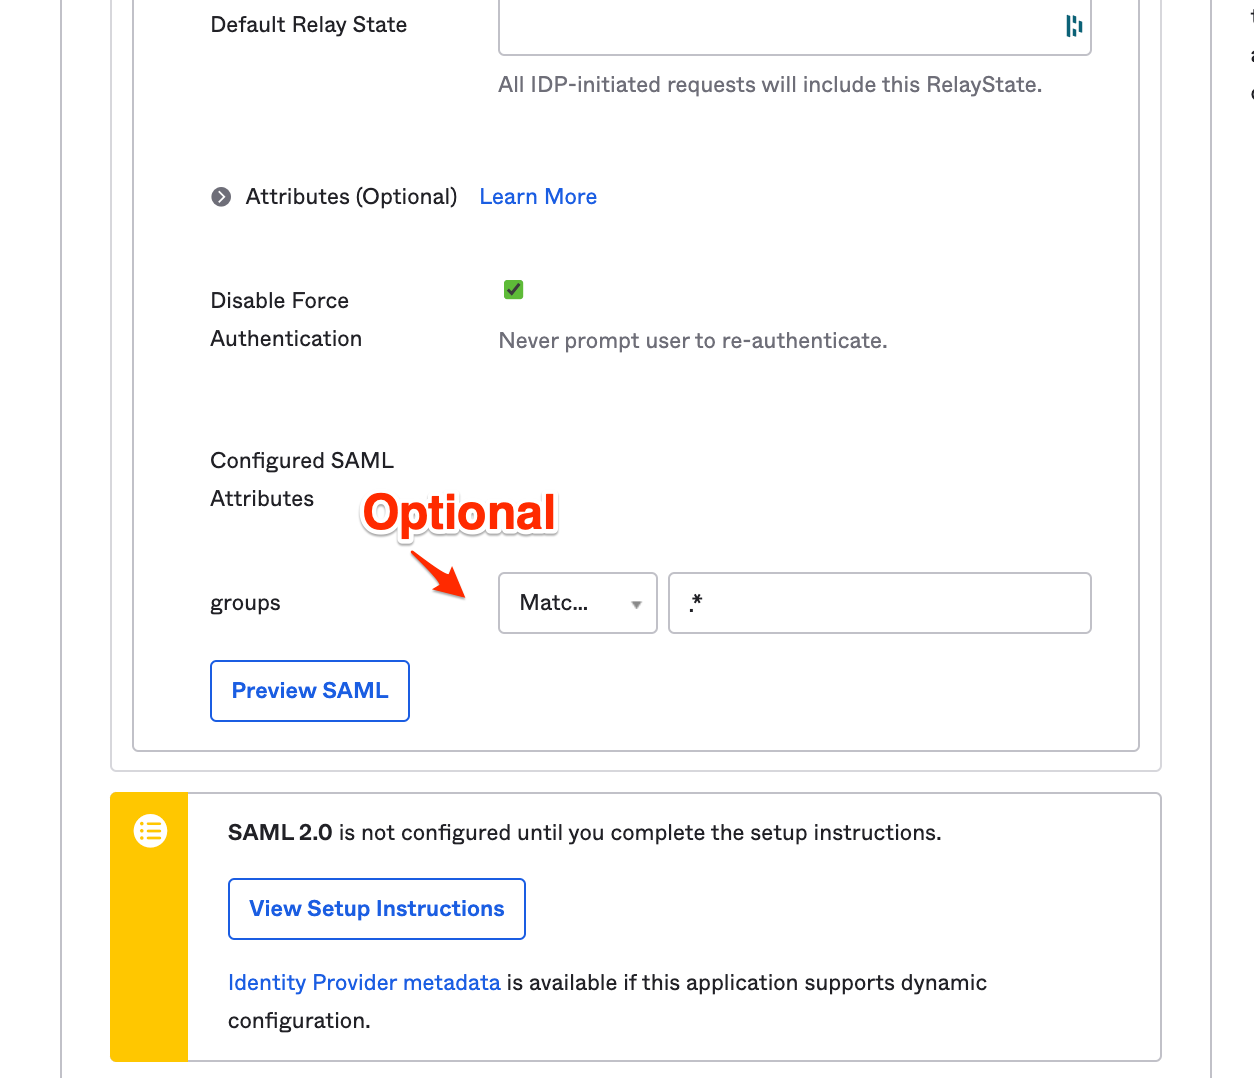
- Groups: "Matches Regex" .* (Please note, this is a dot + asterisk)
- You will also want to create the group on Check Point SASE manually for this to work.
Configuring the SAML 2.0 Application on Check Point SASE
- Log in to your Check Point SASE Management Platform, and navigate to Settings, and then Identity Providers.
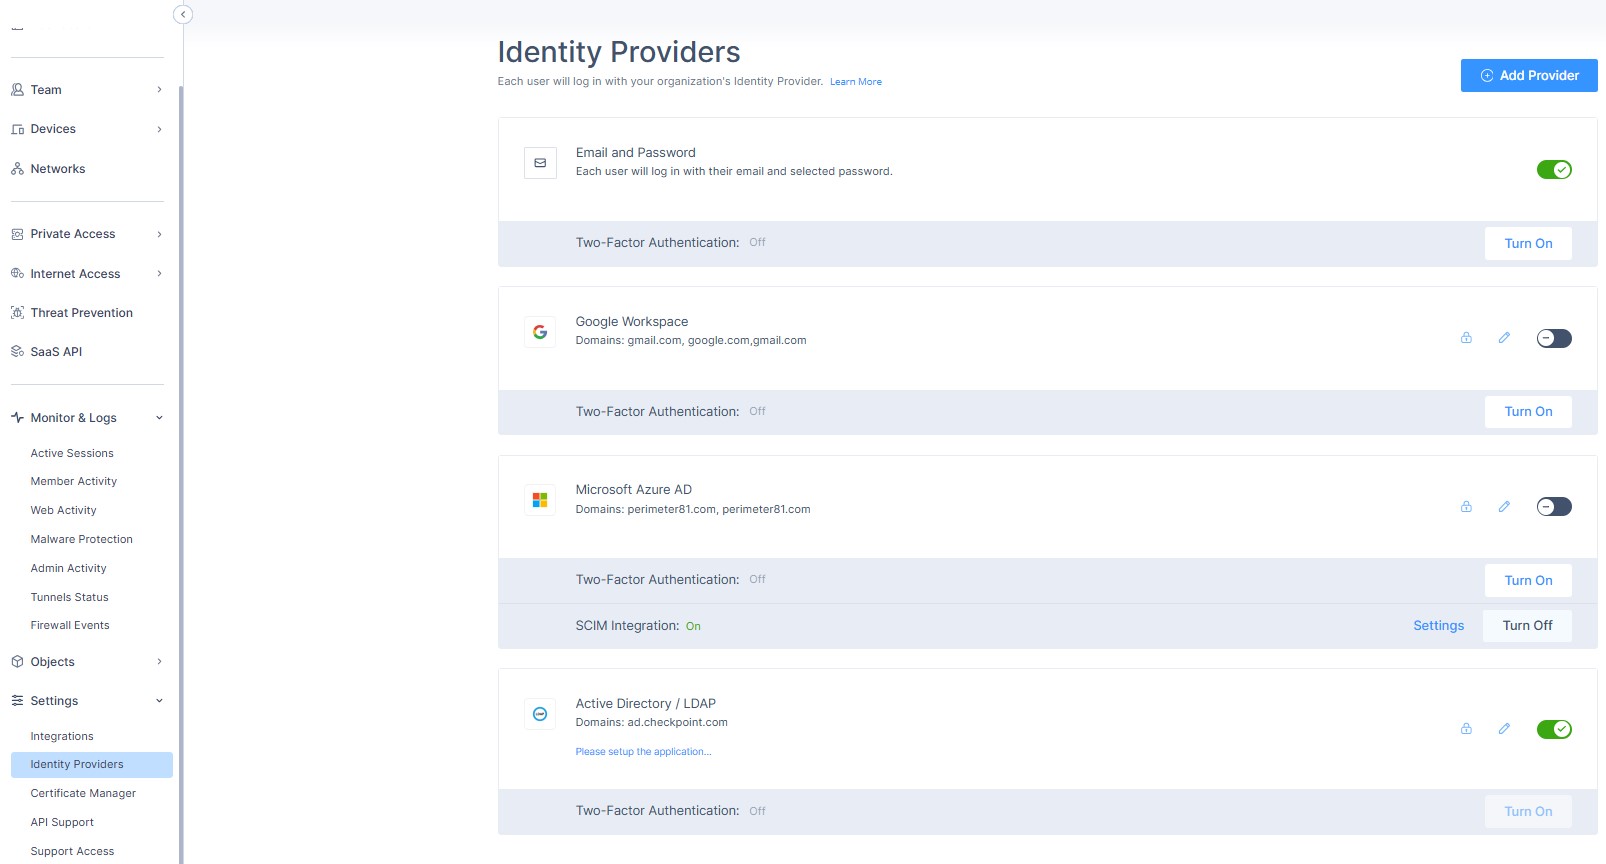
- Select + Add Provider.
- Select Okta.
- Fill in the Sign In URL and upload the SAML Signing Certificate you previously copied.
- Add your organization's domain.
- Select Done.
Assigning the App
- In Okta, navigate to Applications and select your SAML 2.0 Application
- Click Assignments
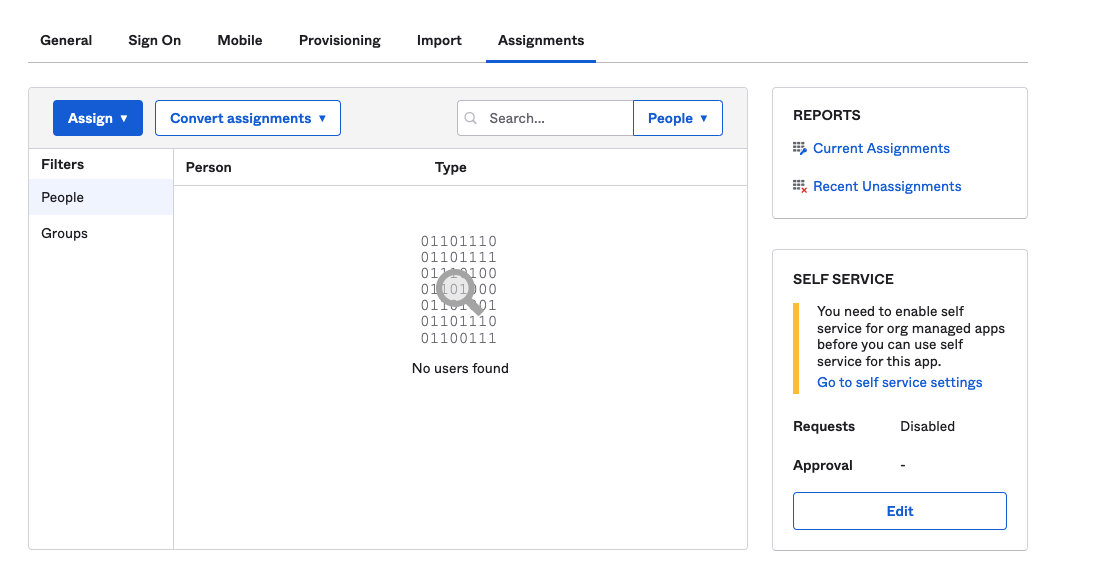
- Assign the People or Groups you would like to get synchronized with Check Point SASE.
- Fill in any additional information, click Save and Go Back, Then click Done.
SP-initiated SSO
- Browse to your Check Point SASE workspace URL.
- On the login screen click on Sign in with Okta.
- Verify you can successfully connect using your Okta credentials.
Notes
The following SAML attributes are supported:
| Name | Value |
| given_name | user.firstName |
| family_name | user.lastName |
| user.email | |
| groups | Configured in the app UI; See "Group Support" section above |
Recommendations
- To use Okta with SCIM integration (recommended), use the following document.
- Ensure you have admin access in both Okta and Check Point SASE platforms for a successful integration.
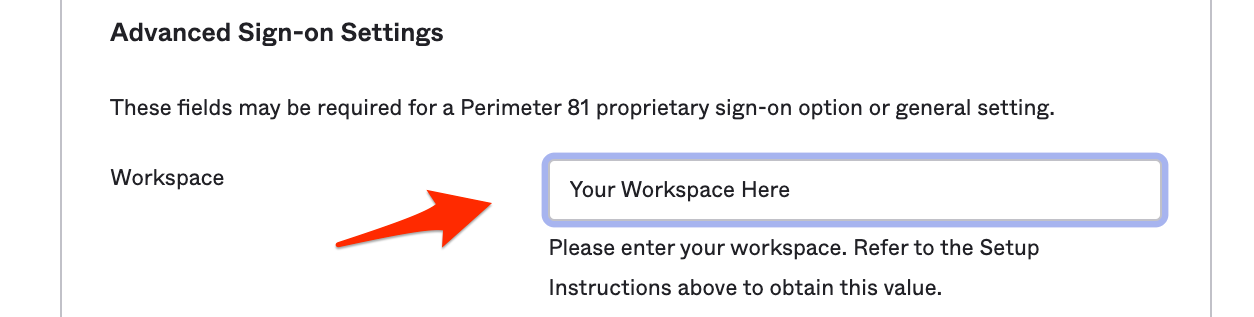
- Always replace placeholders, such as YOUR_WORKSPACE, with the appropriate values during the setup.
- Save your Sign In URL and X509 Signing Certificate from Okta for later use in Check Point SASE.
- Periodically review your Okta configuration settings to ensure they align with any updates or changes made within the Check Point SASE platform.
Troubleshooting
If you encounter issues during or after the setup, try reviewing your settings to ensure everything matches the instructions. In particular, check the IP addresses and other details you entered during setup. If issues persist, please consult our dedicated support.
Support Contacts
If you have any difficulties or questions, don't hesitate to contact Check Point SASE's support team. We offer 24/7 chat support on our website at sase.checkpoint.com, or you can email us at sase-support@checkpoint.com. We're here to assist you and ensure your VPN tunnel setup is a success