This article describes how you can use the gateway active/inactive feature to prevent users and Zero Trust Applications (ZTA's) from connecting to a gateway. In a deactivated state, gateways remain operational. However, users connecting to a network will be connected to other active gateways until the gateway is re-activated. Users who were already connected to the gateway while inactive will remain connected to that gateway until they disconnect, after which, they would reconnect to a different gateway. While in an inactive state, administrators will still be able to make all necessary configuration changes such as IP whitelisting and site-to-site tunneling. Tunnels will continue to route traffic to remote resources.
This feature is available for use with new and existing gateways, as well as during the network creation process.
On Existing Gateways
- Open Networks from the Management Platform and navigate to the network on which you'd like to activate or deactivate your gateway. Select the three-dotted icon on the right side of your gateway, then select 'Deactivate Gateway'.

- You will now see a progress bar showing the status of the change.

- Once fully deactivated, you will see a 'Inactive for Users' indicator in the upper right-hand corner of your gateway.

- To re-activate your gateway, select the three-dotted icon on the right side of your gateway, then select 'Activate Gateway'.

When Creating New Gateways
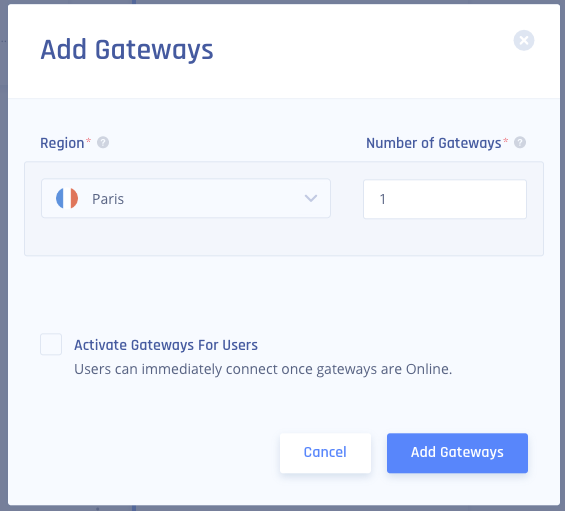
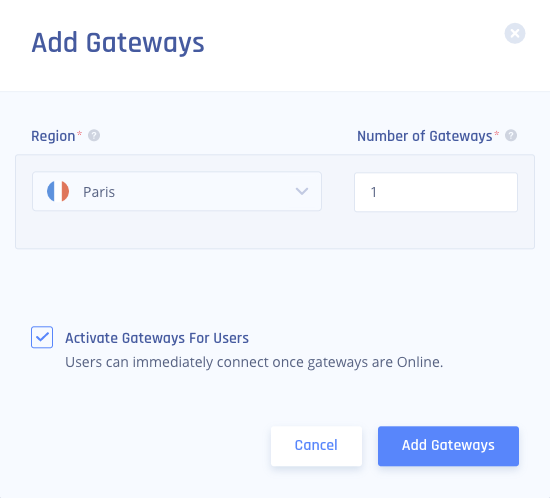
- Select the three-dotted icon on the right of the Region where you'd like a new gateway, then select 'Add Gateways'.
- Your new gateway will show as inactive by default.

- To create the gateway in an active state, simply check off the 'Activate Gateways' box, then click 'Add Gateways'.

During Network Creation
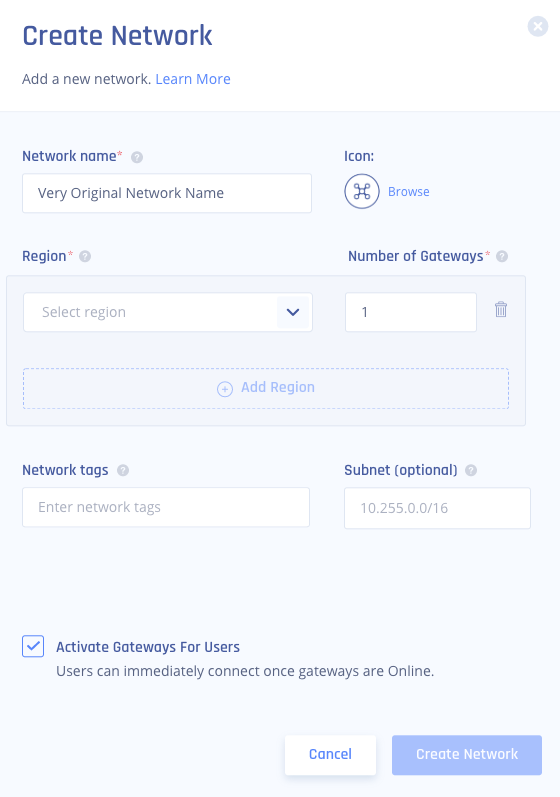
- Open Networks from the Management Platform and click Create Network in the upper right.
- New networks will be created with gateways active by default.

- To ensure that your gateways are created in an inactive state, simply uncheck the box before clicking Create Network.