
Introduction
This guide will walk you through the process of establishing a Site-to-Site VPN tunnel between your Check Point SASE network and your AWS Transit Gateway environment.
Note: If you are aiming to connect to a single VPC, refer to this guide: Configuring a Site-to-Site IPSec Tunnel to AWS Virtual Gateway.
Breakdown of topics
1. Pre-requisites
2. Configuration Steps
3. Verifying the Setup
4. Troubleshooting
5. Support Contacts
Pre-requisites
To successfully follow this guide, you should have:
1. An active Check Point SASE account and network.
2. The Check Point SASE app installed on your devices.
3. An active AWS account with admin permissions.
Configuration Steps
Please follow the steps below:
- Create the Transit Gateway & Transit Gateway attachments
- Configuring the tunnel in the AWS console
- Configuring the tunnel on the Perimeter81 web platform
- Configuring the routing in the AWS console
- Configuring the routing on the Perimeter81 web platform
Create the Transit Gateway & Transit Gateway attachments
Create the Transit Gateway
- Go to the VPC section in the AWS Console

- Under the left panel, click on Transit Gateways
- On the top pane, click on Create transit gateway

- Fill in the following information:
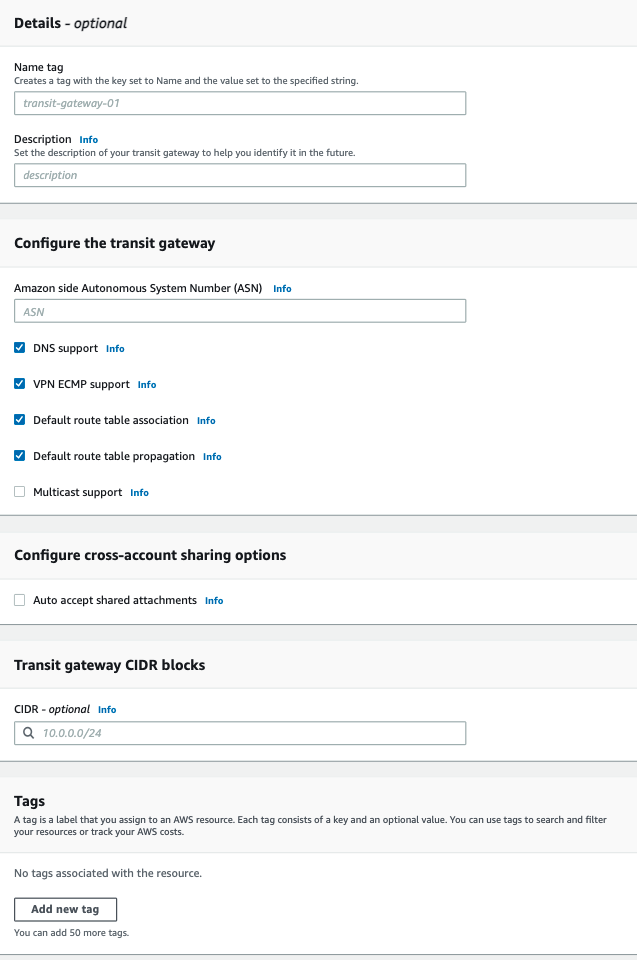
- Name tag - Insert the name of the Transit Gateway.
- You can keep the default parameters for the rest of the attributes.
- Click Create transit gateway.
Create the Transit Gateway Attachments
- You may create an attachment for VPCs, other VPNs, and other Peered Transit Gateways sitting on another AWS region.
- All connected attachments will be able to communicate with each other as defined in the Transit Gateway's routes.
Create the Transit Gateway VPC attachments
- If you already have a Transit Gateway Attachment to your VPC, you may skip this step and go directly to "Create the Transit Gateway VPN attachment."
- A single VPC attachment will connect one VPC to the Transit Gateway.
- You may connect multiple VPC attachments to a single Transit Gateway.
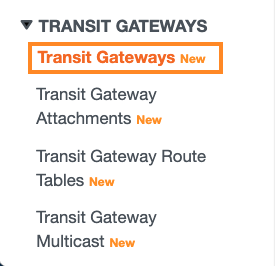
1. On the left pane, click on Transit Gateway Attachments
![]()
2. On the top pane, click on Create transit gateway attachment

3. Fill in the following information and click on "Create transit gateway attachment":
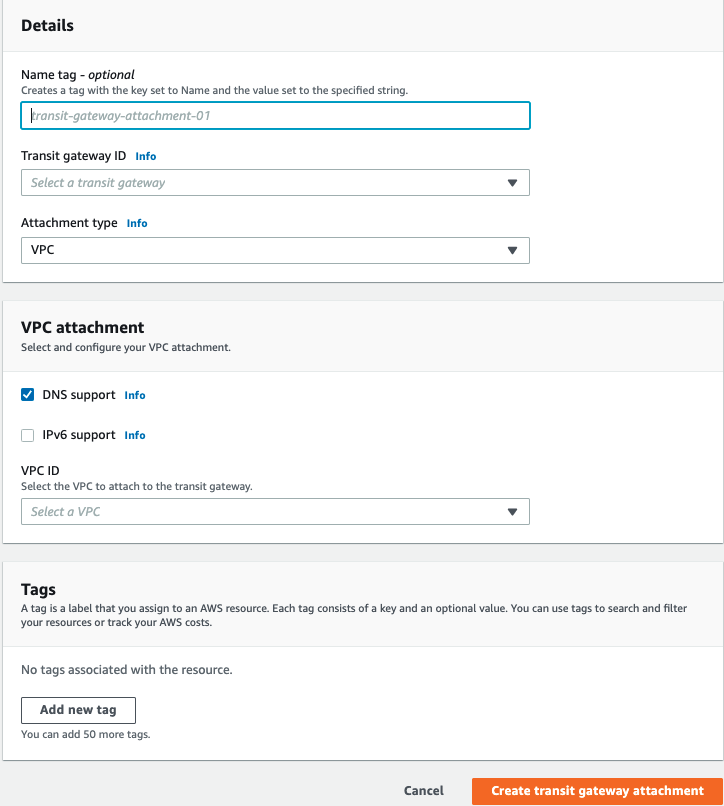
- Name Tag - Insert the name of the Transit Gateway Attachment
- Transit gateway ID - Pick the newly created Transit gateway
- Attachment Type - VPC
- VPC ID - Select the relevant VPC
- You can keep the default parameters for the rest of the attributes
Create the Transit Gateway VPN attachment
- On the top pane, click on Create transit gateway attachment
- Fill in the following information and click on "Create transit gateway attachment":
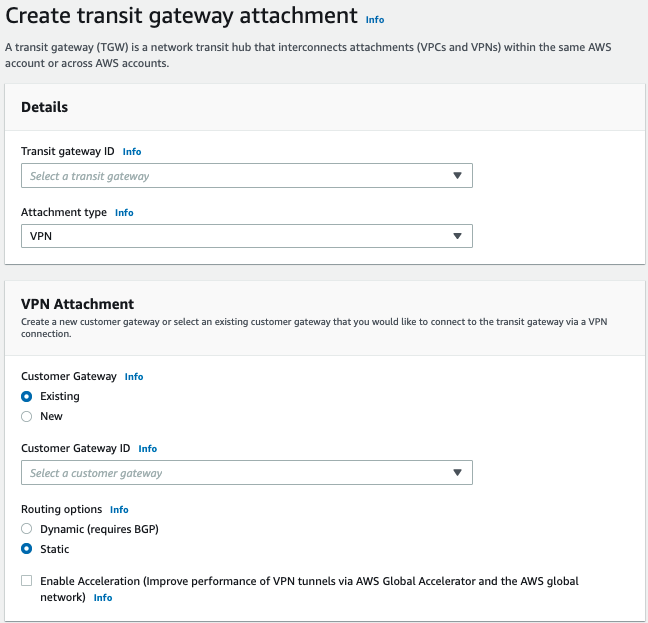
- Transit gateway ID - Pick the newly created Transit gateway
- Attachment Type - VPN
- Customer Gateway - New
- IP address - This should be obtained within the Perimeter81 Admin Console under the relevant Gateway Name.

- BGP ASN: Leave default values
- Routing Options: Static
- Keep the default values for the rest of the attributes
- In the bottom right corner, click on "Create transit gateway attachment."
Configuring the tunnel in the AWS Console
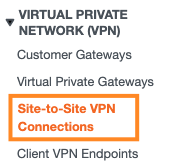
- On the left pane, under Virtual Private Network (VPN), click on Site-to-Site VPN Connections
- Pick the newly created Transit Gateway VPN connection record
- On the top pane, click on Download Configuration.

- A pop-up will appear, choose the following and click on Download.
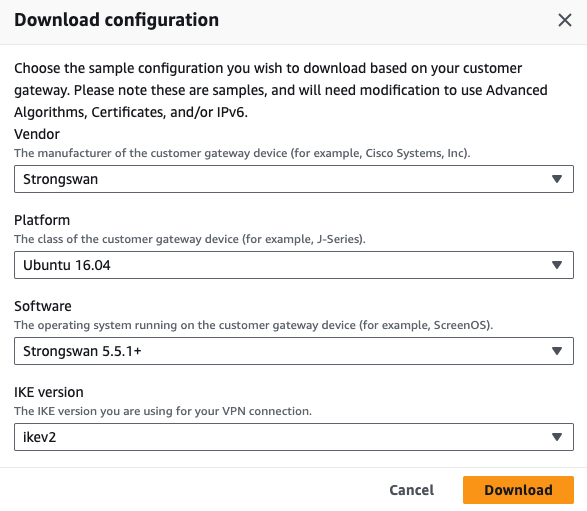
- Vendor - Strongswan
- Platform - Ubuntu version
- Software - Strongswan version
- Ike Version - Ikev2
Configuring the tunnel in the Check Point SASE Admin Console
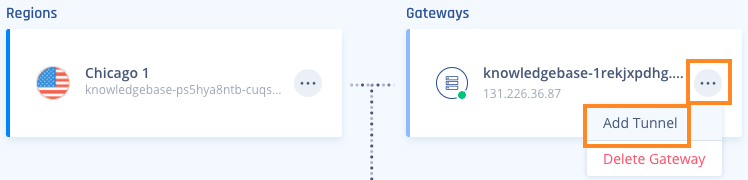
- Navigate to your Perimeter81 web platform
- On the left pane, click on Networks and select the network name where you'd like to set the tunnel.

- Locate the desired gateway, select the three-dotted menu (...), select Add Tunnel
- A pop-up will appear; choose IPSec Site-2-Site Tunnel and click Continue
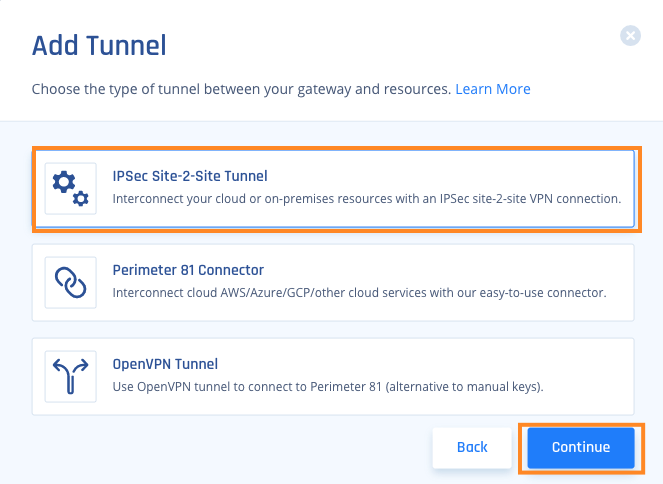
- Fill in the following information and click "Add Tunnel."
Uploading your configuration file
You can directly upload your AWS configuration to Check Point SASE to save time and configuration mismatches: How to upload an AWS configuration file.
Manual configuration
In case you decide to configure the tunnel in the Check Point SASE interface manually, please follow these steps:
- Open the configuration file that you have downloaded, select either Tunnel1 or Tunnel2, and copy these attributes:
.PNG)
- Name - Enter the name of the tunnel.
- Shared Secret - Go to the config file, and copy+paste the value marked in yellow; remember to omit the quotation marks.
- Public IP & Remote ID - Copy and Paste the IP marked in red; this is your AWS external IP.

- Check Point SASE Gateway Proposal Subnets: 0.0.0.0/0.
- Remote Gateway Proposal Subnets: 0.0.0.0/0.
- In the Advanced Settings section, specify these:
.PNG)
- IKE Version: V2
- IKE Lifetime: 8h
- Tunnel Lifetime: 1h
- Dead Peer Detection Delay: 10s
- Dead Peer Detection Timeout: 30s
- Phase 1:
- Encryption(Phase 1): aes256
- Integrity (Phase 1): sha512
- Key Exchange Method: ecp521
- Phase 2:
- Encryption(Phase 2): aes256
- Integrity (Phase 2): sha512
- Key Exchange Method: ecp521
- Configuring the routing on AWS
- Go to the VPC section in the AWS Console. Under Transit Gateways, select Transit Gateway Route Tables.
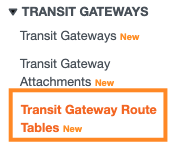
- Select the relevant Transit Gateway Route Table.
- Go to the VPC section in the AWS Console. Under Transit Gateways, select Transit Gateway Route Tables.
- In case that your routes are not automatically propagating:
- On the bottom, click on "Propagations."
- Verify that all of the Transit Gateway Attachments are included.Missing propagationsIf one of the Transit Gateway Attachments is missing a route, click "Create propagation" and add the missing route.
- On the bottom, click on "Associations."
- Verify that all of the Transit Gateway Attachments are included (same as the previous step)Missing associationsIf one of the Transit Gateway Attachments is missing a route, click "Create propagation" and add the missing route.
- On the bottom, click "Routes."
- Click on "Create static route" and fill in the following:
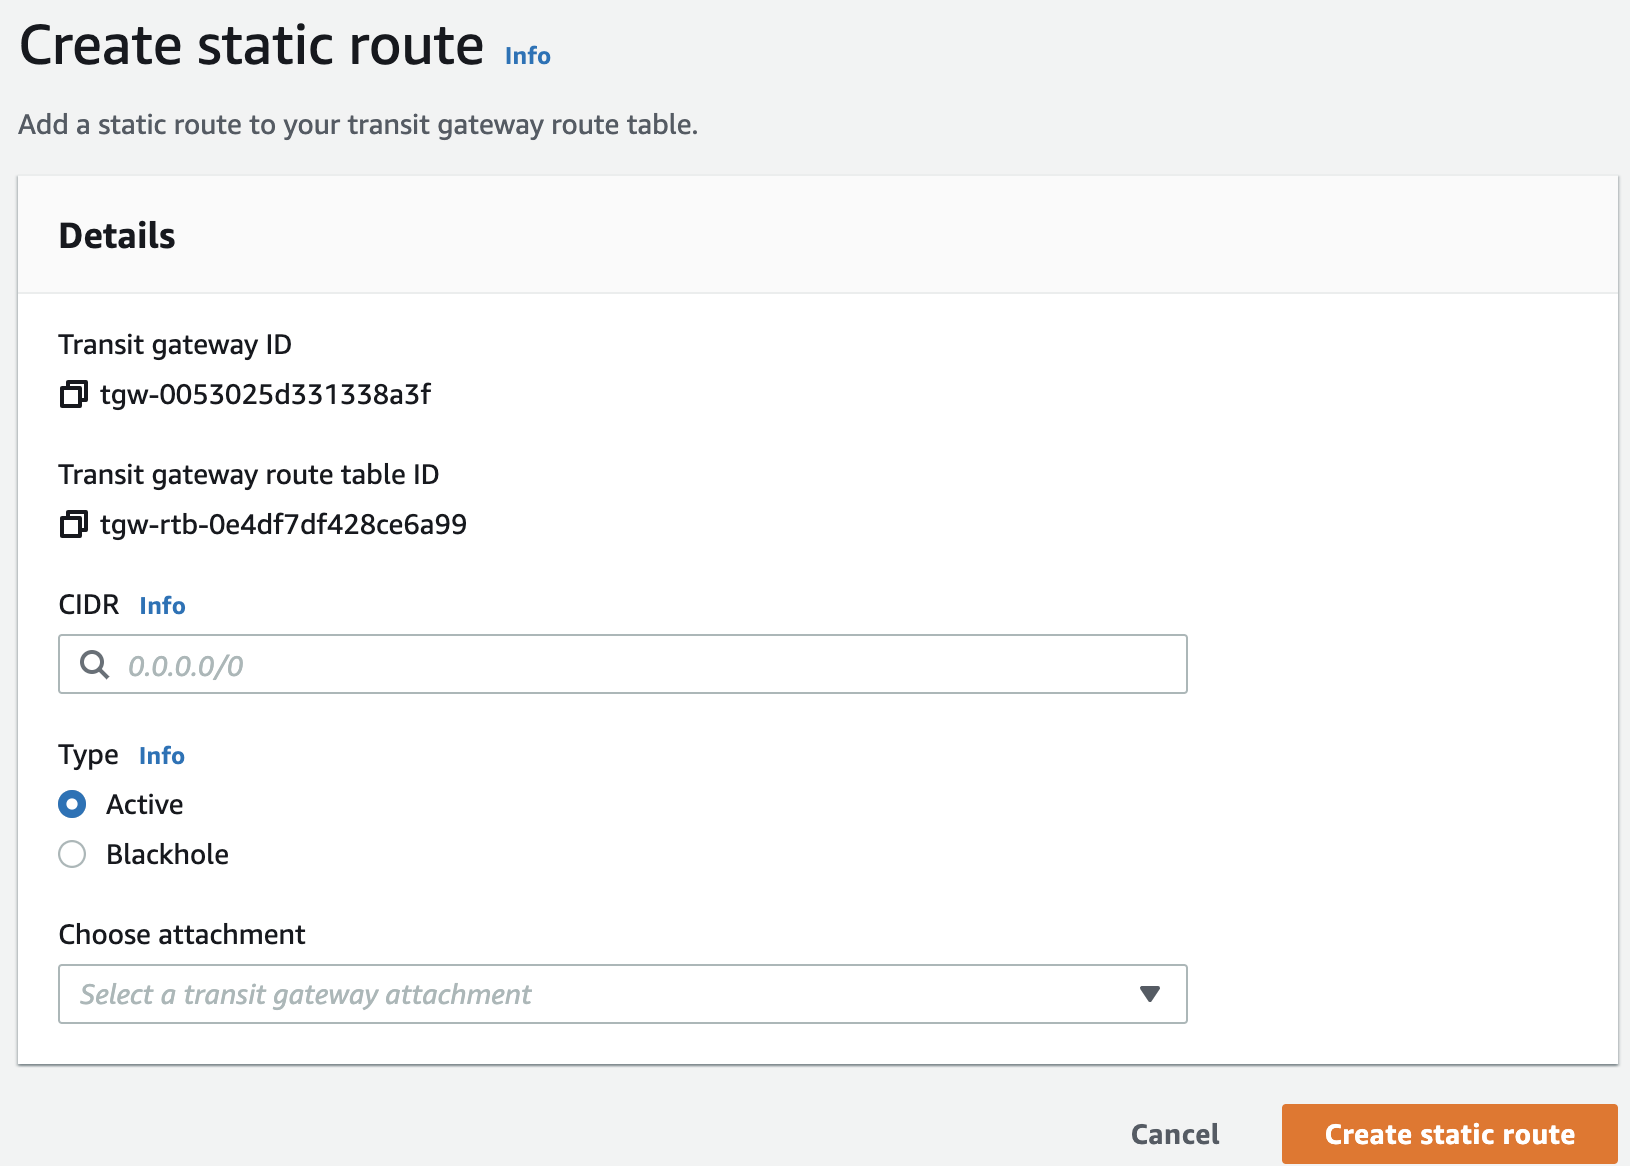
- CIDR- Insert your Perimeter81 subnet. To find your Perimeter81 network subnet perform the following:
- Open your Perimeter81 web platform
- On the left pane, click on Networks -> Networks.
- Select your network
- Select the three-dotted menu (...) next to the Network
- Click on "Edit Network"
- Choose attachment - Choose the VPN attachment.
- On the left pane, under Virtual Private Cloud, click on Route Tables.
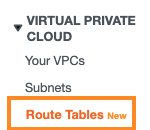
- Select the Route Table for one of the attached VPCs
- On the bottom, click Routes.
- Click Edit Routes, and a new window will appear, click on Add route and fill in the following:

- Destination: Your Perimeter81 network subnet. The value in the above screenshot is just an example, to find your real Perimeter81 network subnet, follow these steps:
- Open your Perimeter81 web platform
- On the left pane, click the Networks menu, then select the Networks option to see all available networks.
- Select your network
- Select the three-dotted menu (...) next to the Network
- Click Edit Network

- Target = Choose Transit Gateway & pick the relevant Transit Gateway
- Click Save changes
- Destination: Your Perimeter81 network subnet. The value in the above screenshot is just an example, to find your real Perimeter81 network subnet, follow these steps:
Configuring the routing on Perimeter81
- Open your Perimeter81 web platform
- In the left pane click on "Networks" --> "Networks"
- Select your network
4. Select the three-dotted menu (...) next to the Network
5. Click on "Route Table"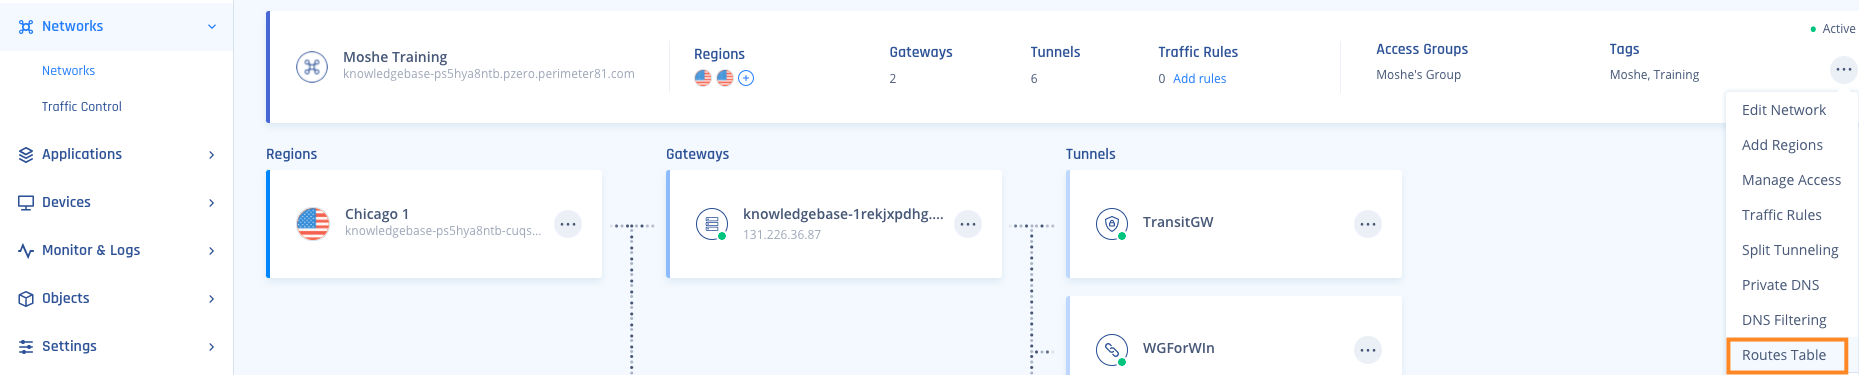
6. On the top right corner, click on Add Route
7. A pop-up will appear, fill in the following and click on "Apply Configuration": - Tunnel - Choose the relevant tunnel
- Subnet - Add the CIDRs of the attached VPCs (The VPCs to which you'd like to gain access)
Verifying the Setup
After following the above steps, your tunnel should be active.
To verify, go to your Check Point SASE dashboard, locate the tunnel you just created, and check the tunnel status.
It should indicate that the tunnel is "Up", signifying a successful connection.
Next, connect to your network using the Check Point SASE agent and attempt to access one of the resources in your environment.
Troubleshooting
If you encounter issues during or after the setup, try reviewing your settings to ensure everything matches the instructions. In particular, check the IP addresses and other details you entered during setup. If issues persist, please consult our dedicated support.
Support Contacts
If you have any difficulties or questions, don't hesitate to contact Check Point SASE's support team. We offer 24/7 chat support on our website at sase.checkpoint.com, or you can email us at sase-support@checkpoint.com. We're here to assist you and ensure your VPN tunnel setup is a success.