AWS
- 30 Jan 2024
- 1 Minute to read
- Contributors


AWS
- Updated on 30 Jan 2024
- 1 Minute to read
- Contributors
Article Summary
Share feedback
Thanks for sharing your feedback!
This article describes how to whitelist your Harmony SASE Gateway at the AWS Management Console, which will allow you to restrict access to a certain resource within a VPC to users connected to the secure Harmony SASE gateway only. While this method needs to be applied to every particular resource, it is a good alternative for those who'd like to avoid setting up a Site-to-Site connection to a VPC.
- Create a security group
- Attach resources to the security group
Please follow the steps below:
Create a security group
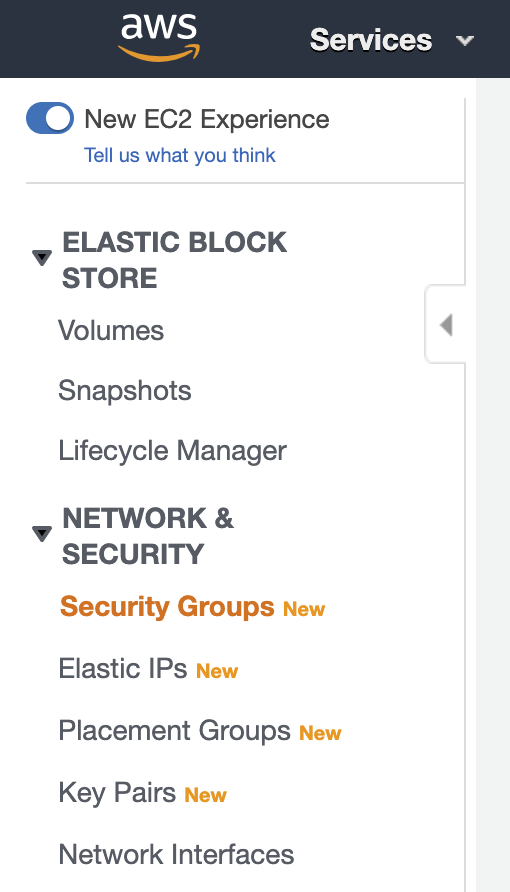
- Open the AWS Management Console EC2 dashboard.
- Navigate to Security Groups.
- Select Create and fill in the following information:
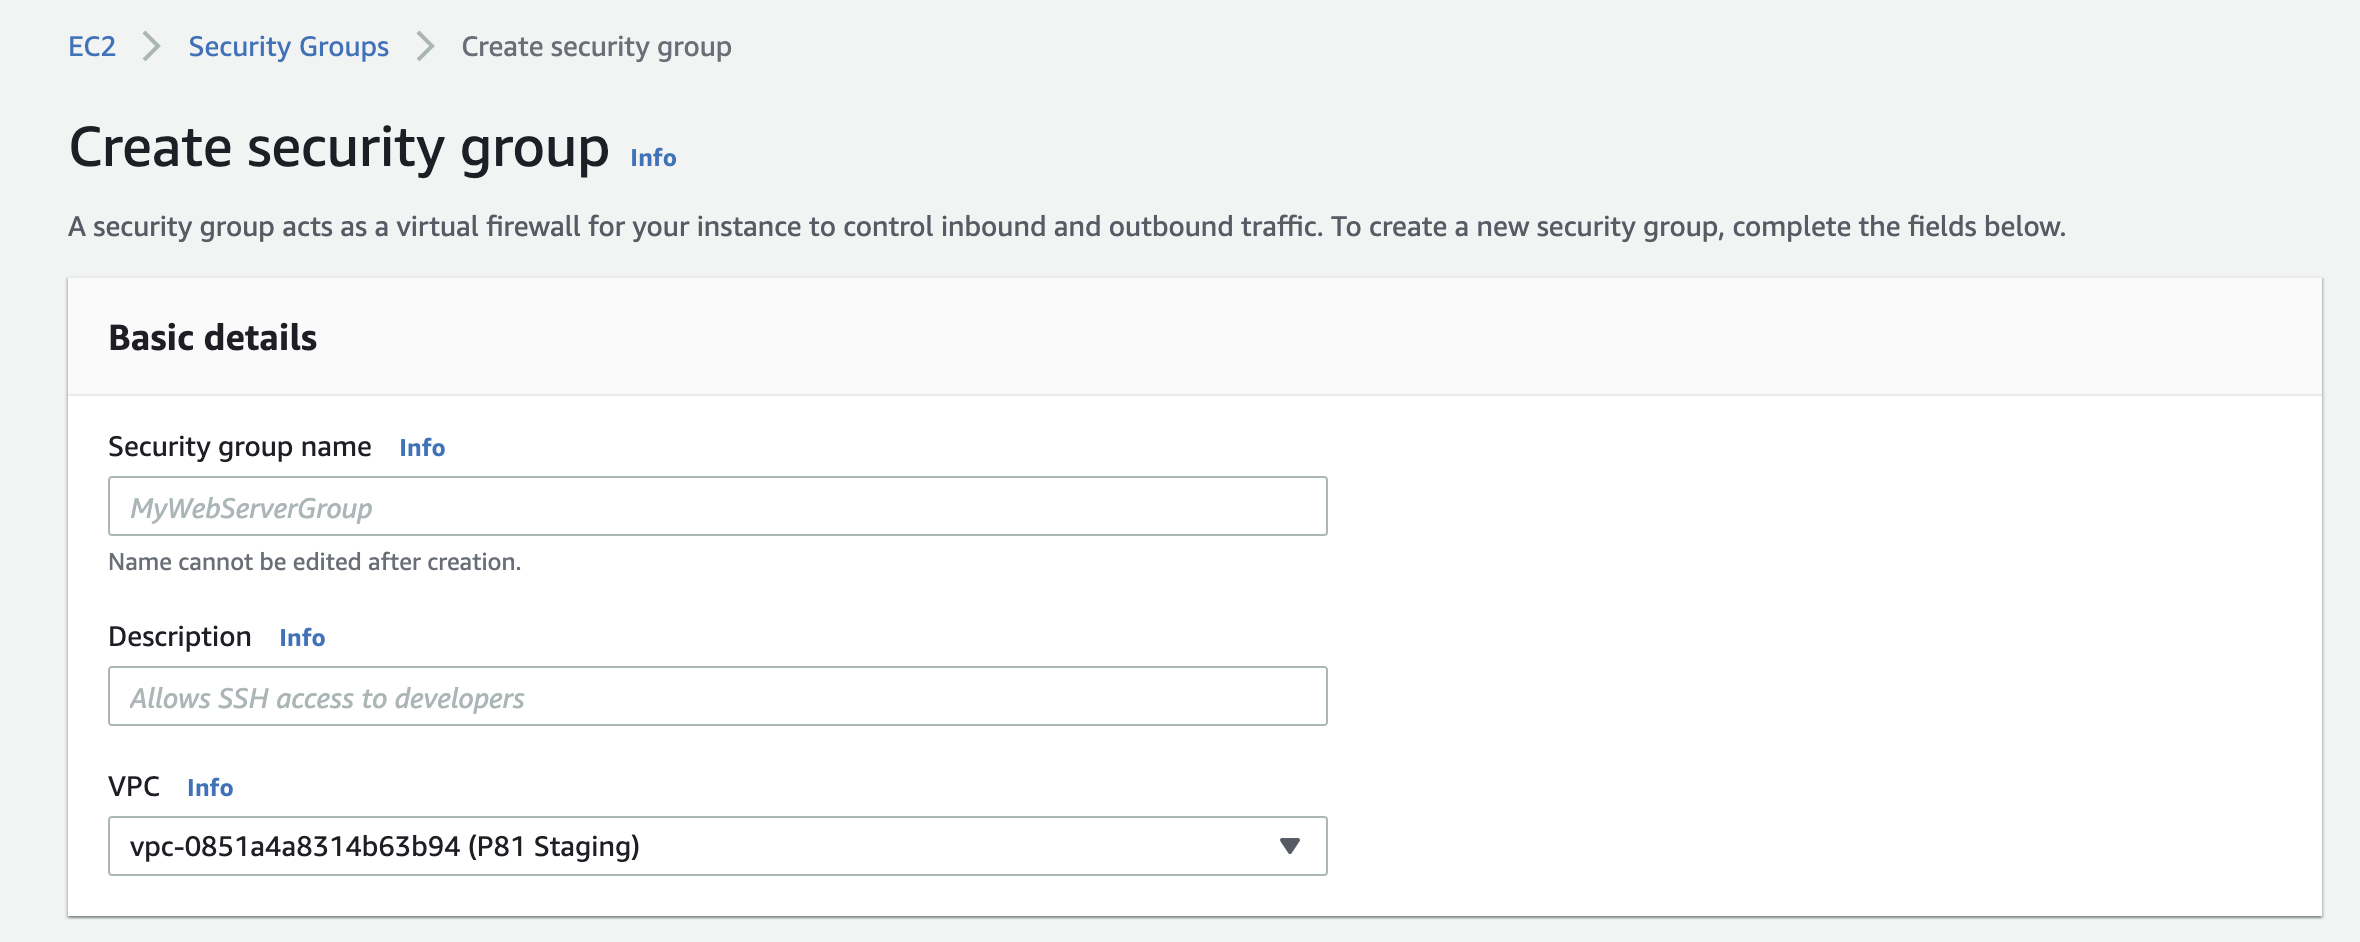


Security group name: Enter a name of your choice.
Description: Describe the use case of the group. The description can be up to 255 characters long.
VPC: Select the appropriate VPC. If you are using VPC peering, you can later update the rules for your VPC security groups to reference security groups in the peered VPC. In case you are using a Transit Gateway, note that spoke Amazon VPCs cannot reference security groups in other spokes connected to the same AWS Transit Gateway.
Add an inbound rule with the following information:
- Type: All traffic
- Protocol: All
- Port range: All
- Source: Custom; Insert your Harmony SASE Gateway IP
- Description: (optional)

- Select Create security group.
Attach resources to the security group
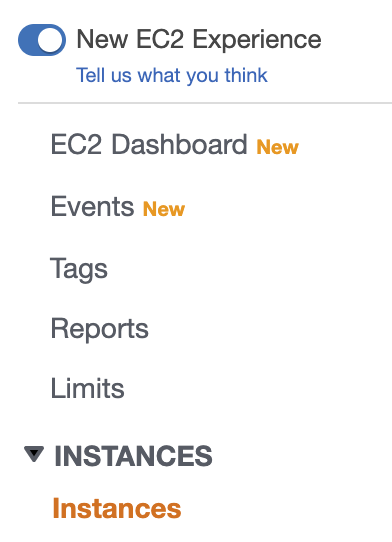
- Return to the EC2 dashboard.
- Select the Instances tab within the Instances section.
- Select the instance you'd like to apply the Security Group to. Select Actions /Networking /Change Security Groups.
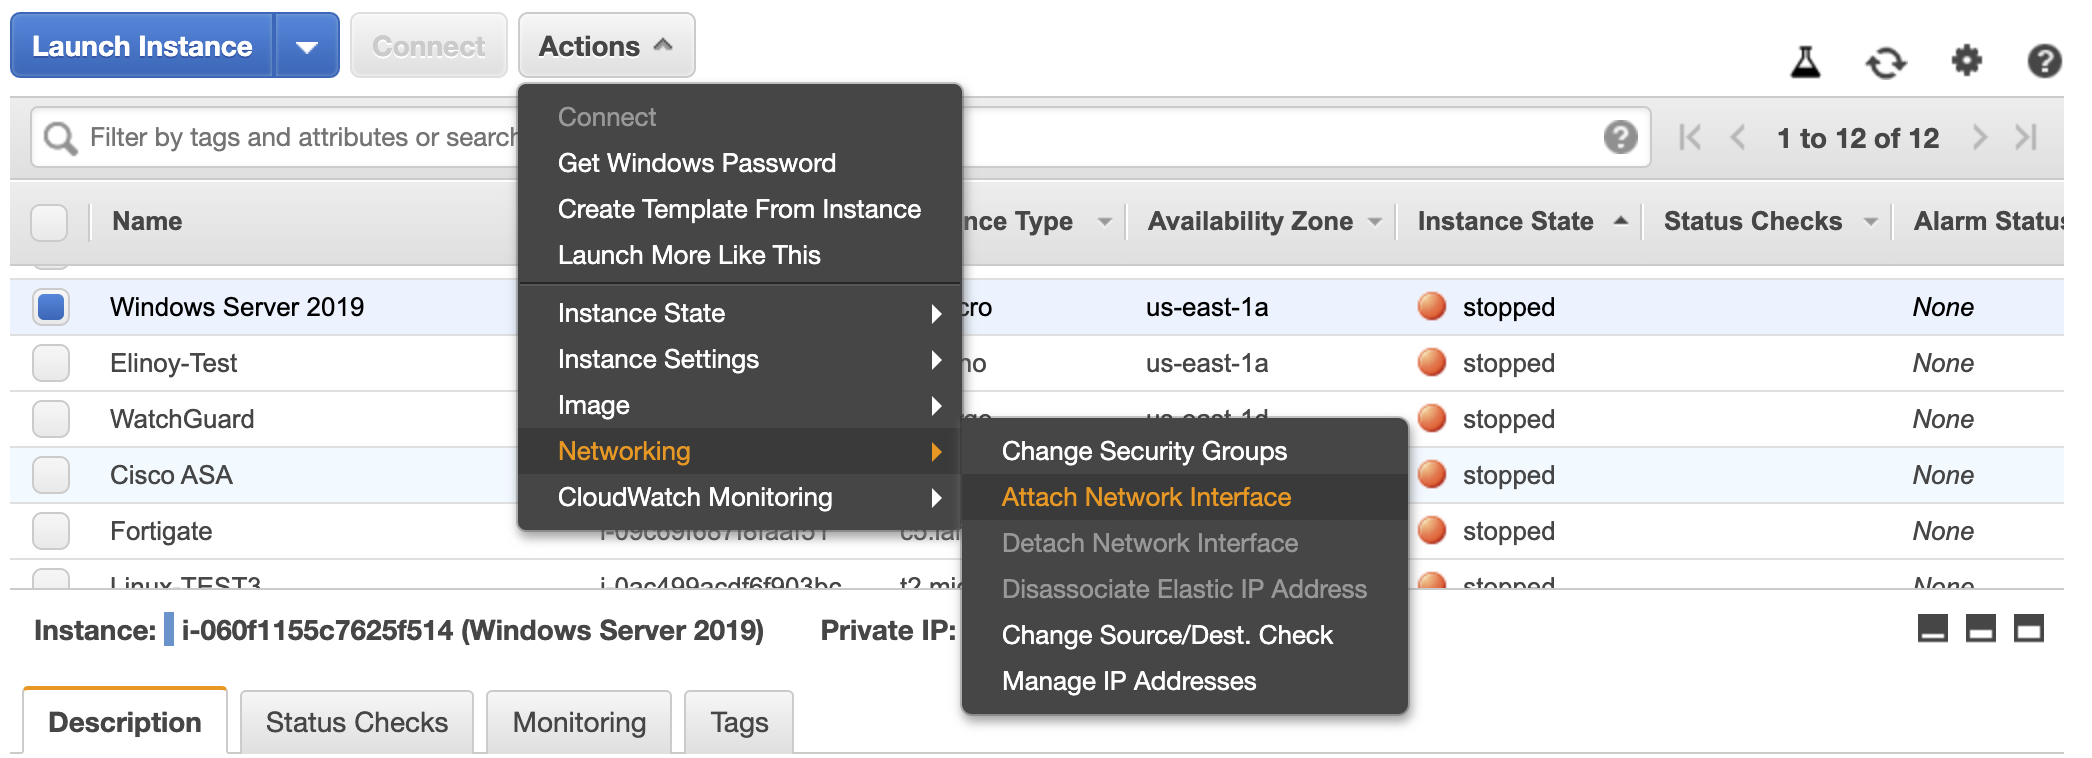
- Select the newly created security group, then select Assign security group.


Was this article helpful?